Finishing out my series of posts on how I like to go about playing a jump marine in Warhammer 40,000 Space Marine, let’s discuss my two least favorite maps and briefly touch on the use of Perks.

Basilica
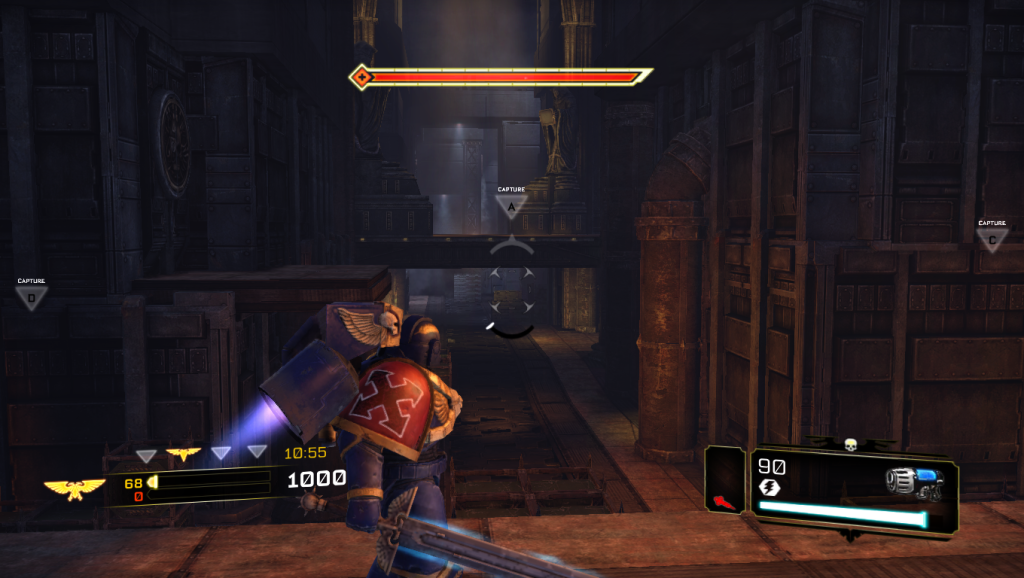
• My absolute least favorite map to play as ASM. There are a lot of covered passages that are can’t be jumped through, as well as long narrow hallways with tall ceilings that basically are setting ASM up to get clay pigeoned by a dev at the other end.
• The best bet for me has been to hustle to the point that is to the left as I look toward the enemy base, then cut towards the flag opposite that one, then take one more cut across the small bridge into the enemy deployment area, near their flag. Basically I make a giant zig-zag across the whole map rather than making the long straight run into their guns.
• This is one of the only maps where it’s often a better idea to just run off a catwalk and fall to the floor than to jump away, since jump options are so limited.
• There are a few bridges and walkways that make enemies bunch up, so you could exploit those if you are a grenade savant, but these chokepoints are better dealt with by a Devastator while you circle around.

Hab Center
• ASM have a huge advantage in getting to and from (A) on this map, since they can just jump up onto the flag platform rather than running up the stairs through the building. While you are taking the flag, don’t forget to check the doorway from the stairs and the elevated platform in the building for lurking Tacs or Devs trying to defend.
• The hallway to (D) is a bit of a deathtrap, and the cover in the no-man’s-land between hab blocks is unreliable, so the safest way to get to the enemy’s base point is to scoot through (A) and continued from there. Note that once you get to the enemy hab block, jumping up into the breached building is fast but running up the ramp near (A) often attracts less attention.
• The open area between the blocks would be a great arena for ASM if the hab blocks didn’t offer everyone’s Devastators such a commanding view of it. Don’t linger there. You can try to take out any Devs that are covering the center, but since nobody goes to the center, it’s not as useful as it might be.
• You can fall down the pit around (D) and die. Once again, try not to.

Perks
• Nothing will pump up your Kills/Assists count like Final Vengeance. Having your jump pack explode after you die will also give you lots of Revenge/Death From Beyond points.
• Weapon Zeal recovers health, not armor. If you are losing health, the fight is already going very badly.
• I’ve tried Sure Strike since I’m such a fan of stun attacks, but it’s hard to tell if it really makes a difference.
• I haven’t noticed a powerful effect from any of the other Perks, but I tend to take Impenetrable (-30% ranged damage) to try and help me survive charging into a Dev or Bolter Tac.
-ssr