Bake On! 9 – Brandy Snaps– Season 2 Episode 4
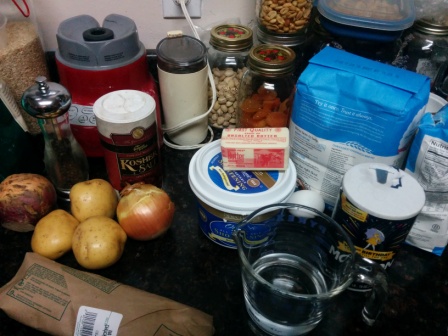
Ingredients
For the brandy snaps
- unsalted butter
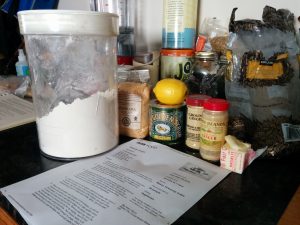
- demerara sugar – it’s fancy schmancy brown sugar.
- golden syrup – very hard to find in the Bay Area – but one shop in a nice area had it. Now I have enough to last me until the end of time.
- plain flour
- ground ginger
- lemon juice
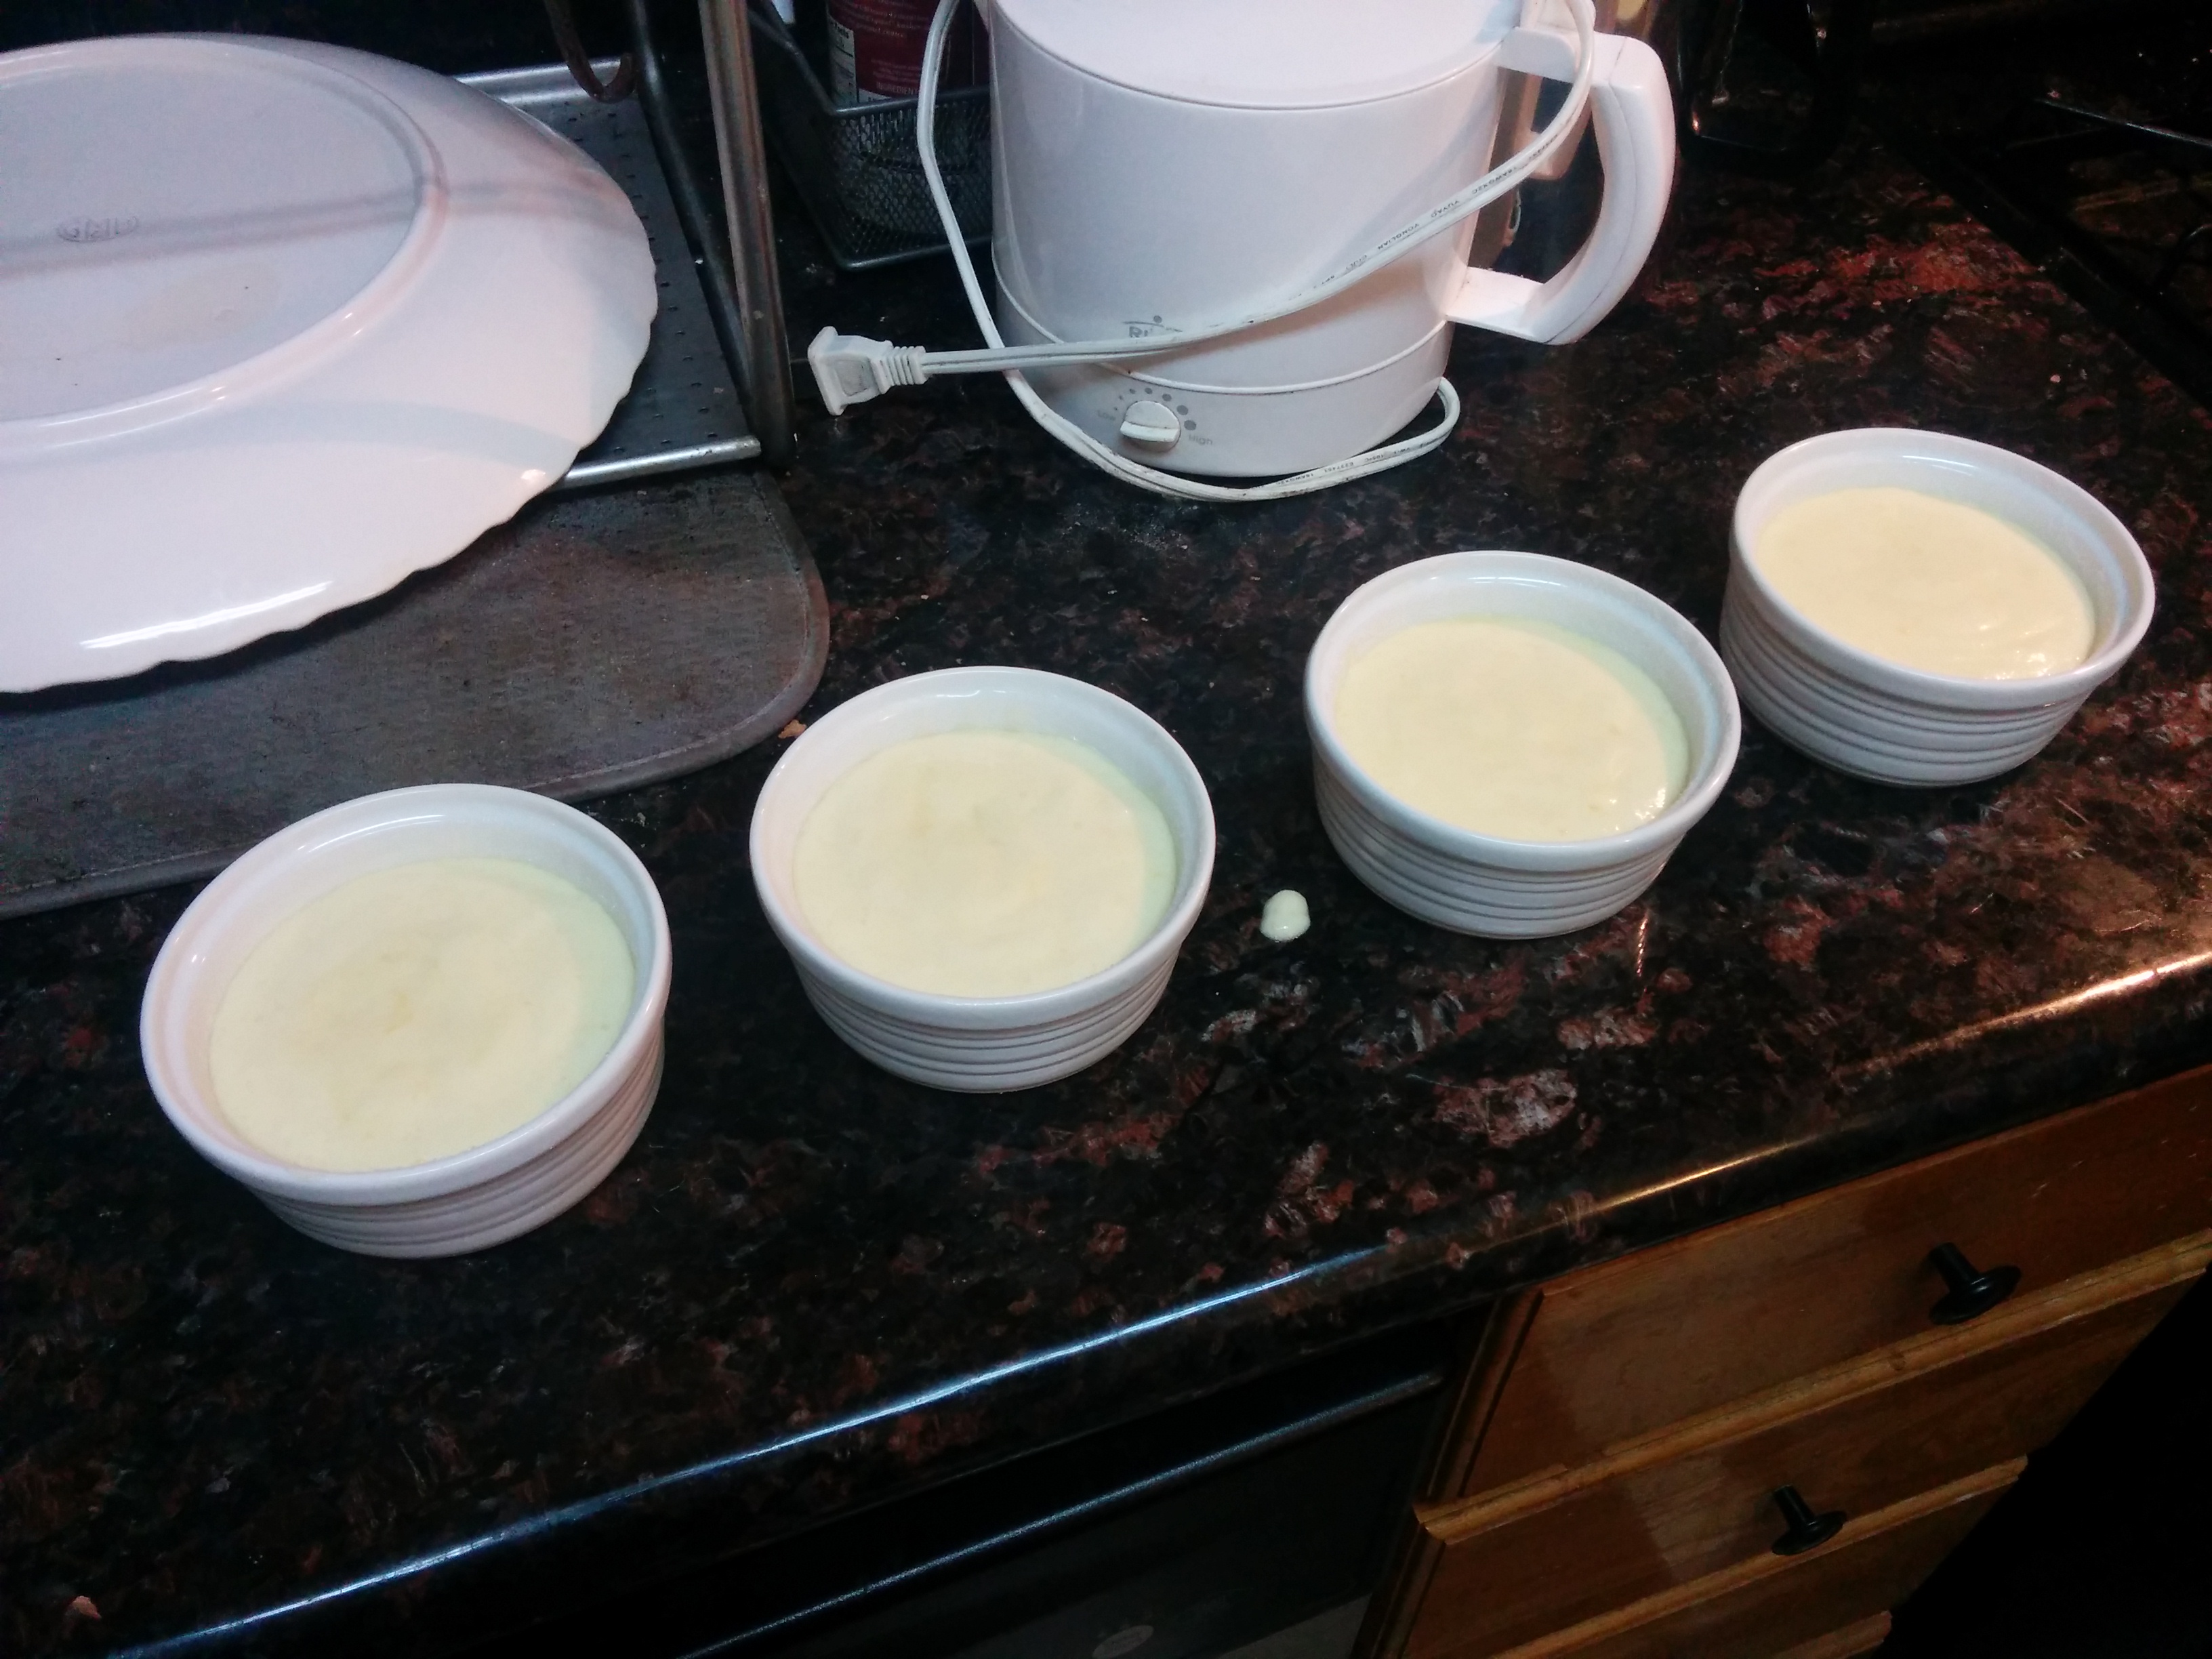
- Whipping cream
Method
- Preheat the oven. Line two baking trays with baking parchment then oil a thickish handle of a wooden spoon and lay it on a cooling rack.
Thickish? Not the thickest, but not thinnish.
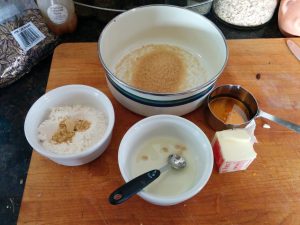
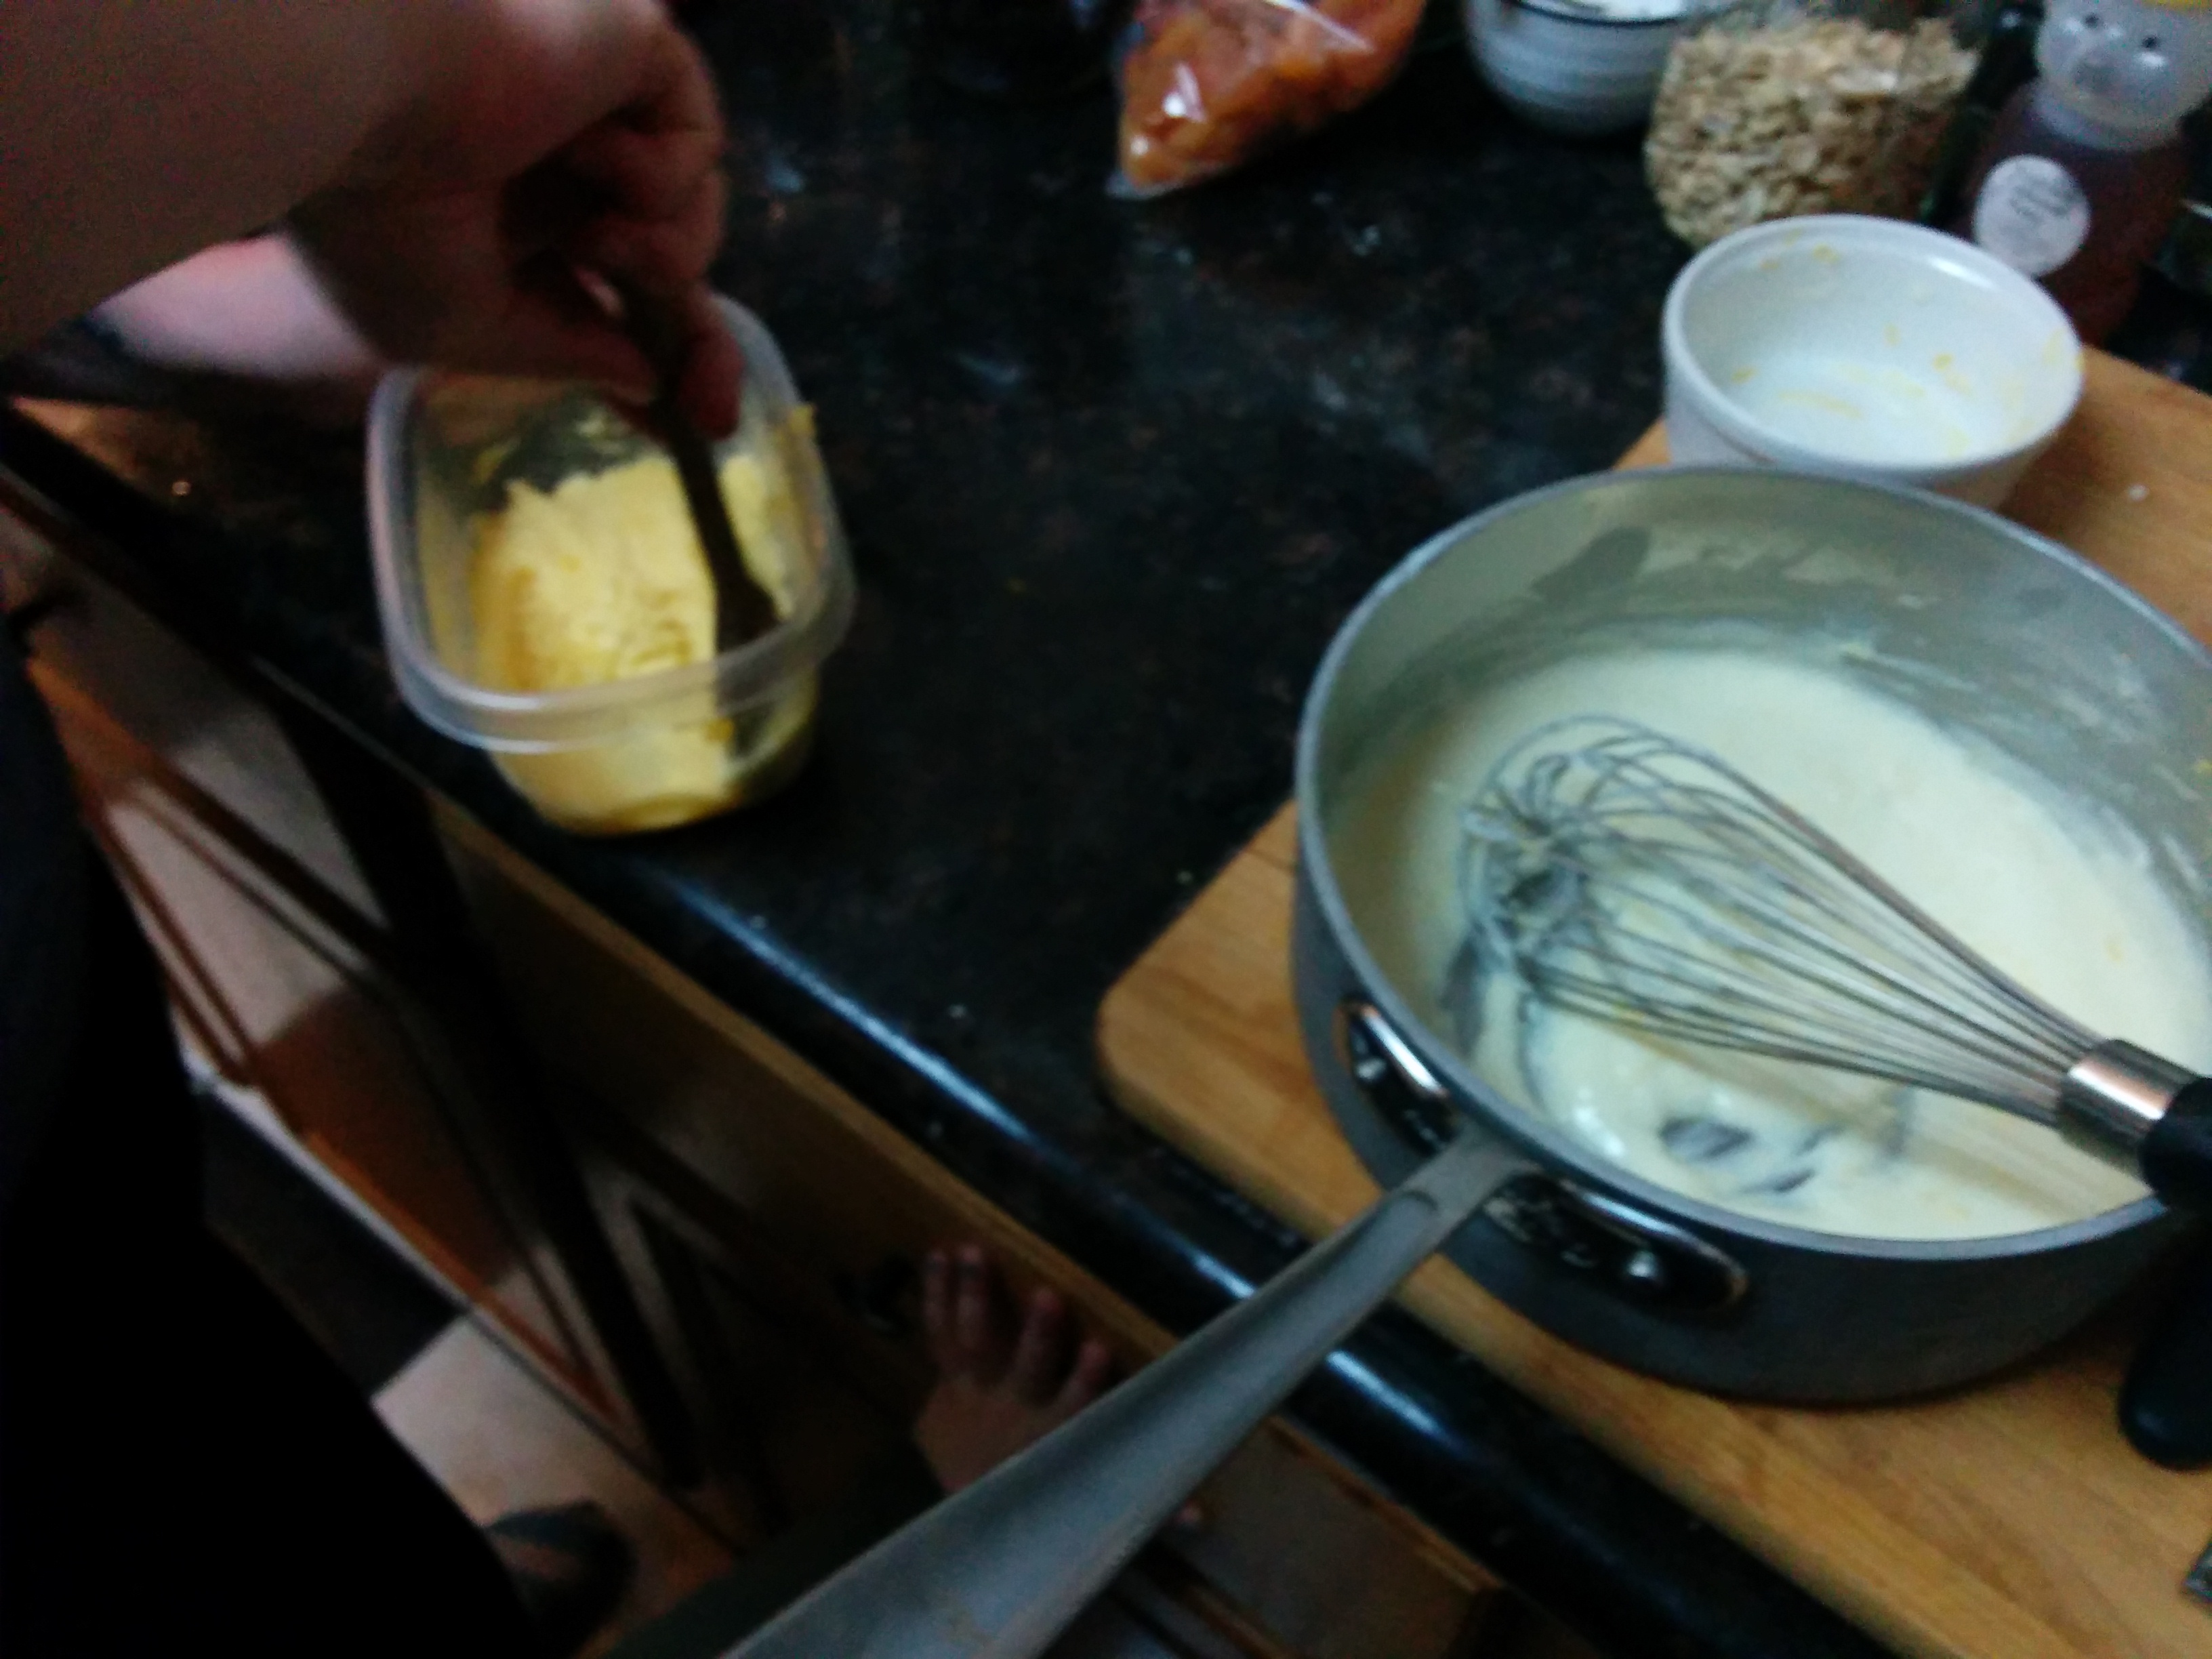
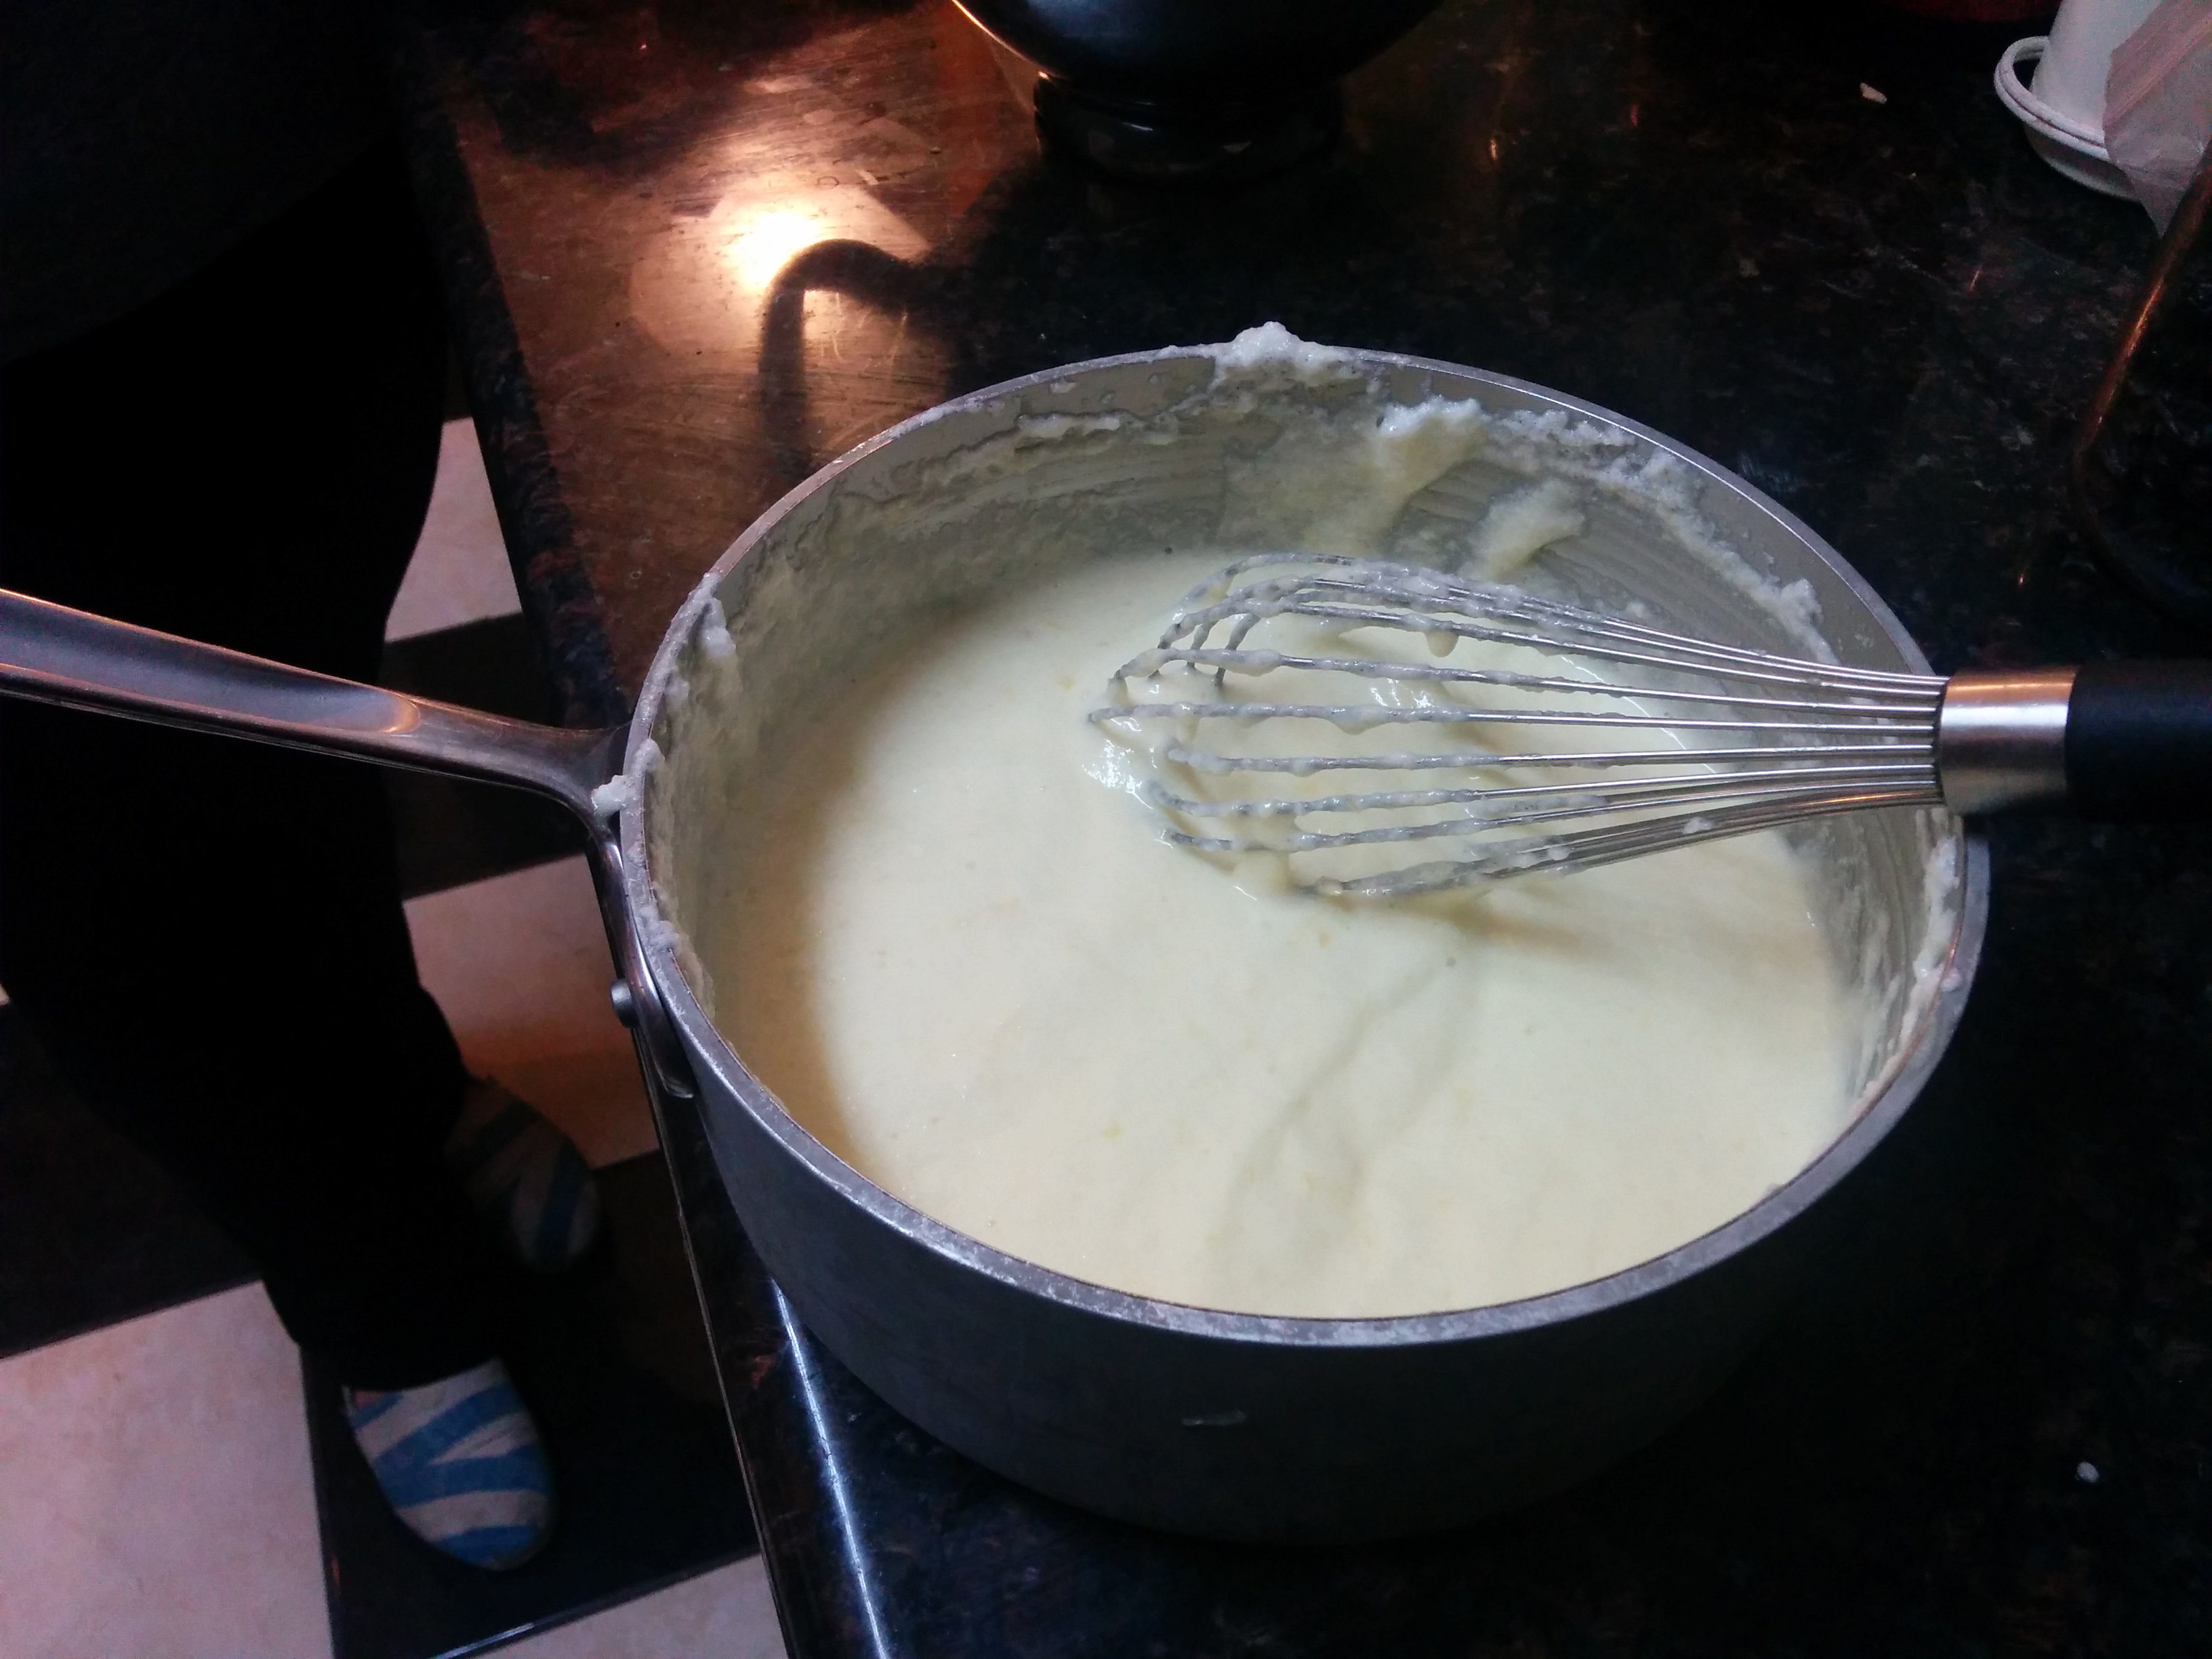
- Measure the butter, sugar and syrup into a small, heavy-based pan. The easiest way is to measure the butter, then the sugar on the scales (in the pan if you have digital scales), then measure the syrup on top to make up to 165g/6oz total weight.
I didn’t do that. I measured it all individually. Still worked. Although that’s Mary, looking out for how many dishes you have to do.
- Heat gently until the butter has melted and the sugar has dissolved. This will take about 15 minutes over a low heat.
15 minutes? LOL!!! I ain’t waiting that long. Just make sure it doesn’t burn or boil and there is no graininess left over from the sugar.
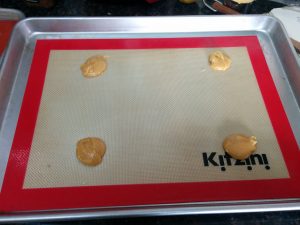 Leave the mixture to cool slightly, then sieve in the flour and ginger. Pour in the lemon juice and mix thoroughly. Drop the mixture onto each of the prepared baking trays to make neat circles.
Can we go with neat-ish circles? How neat is neat? Tell me!!! (These were neat enough)
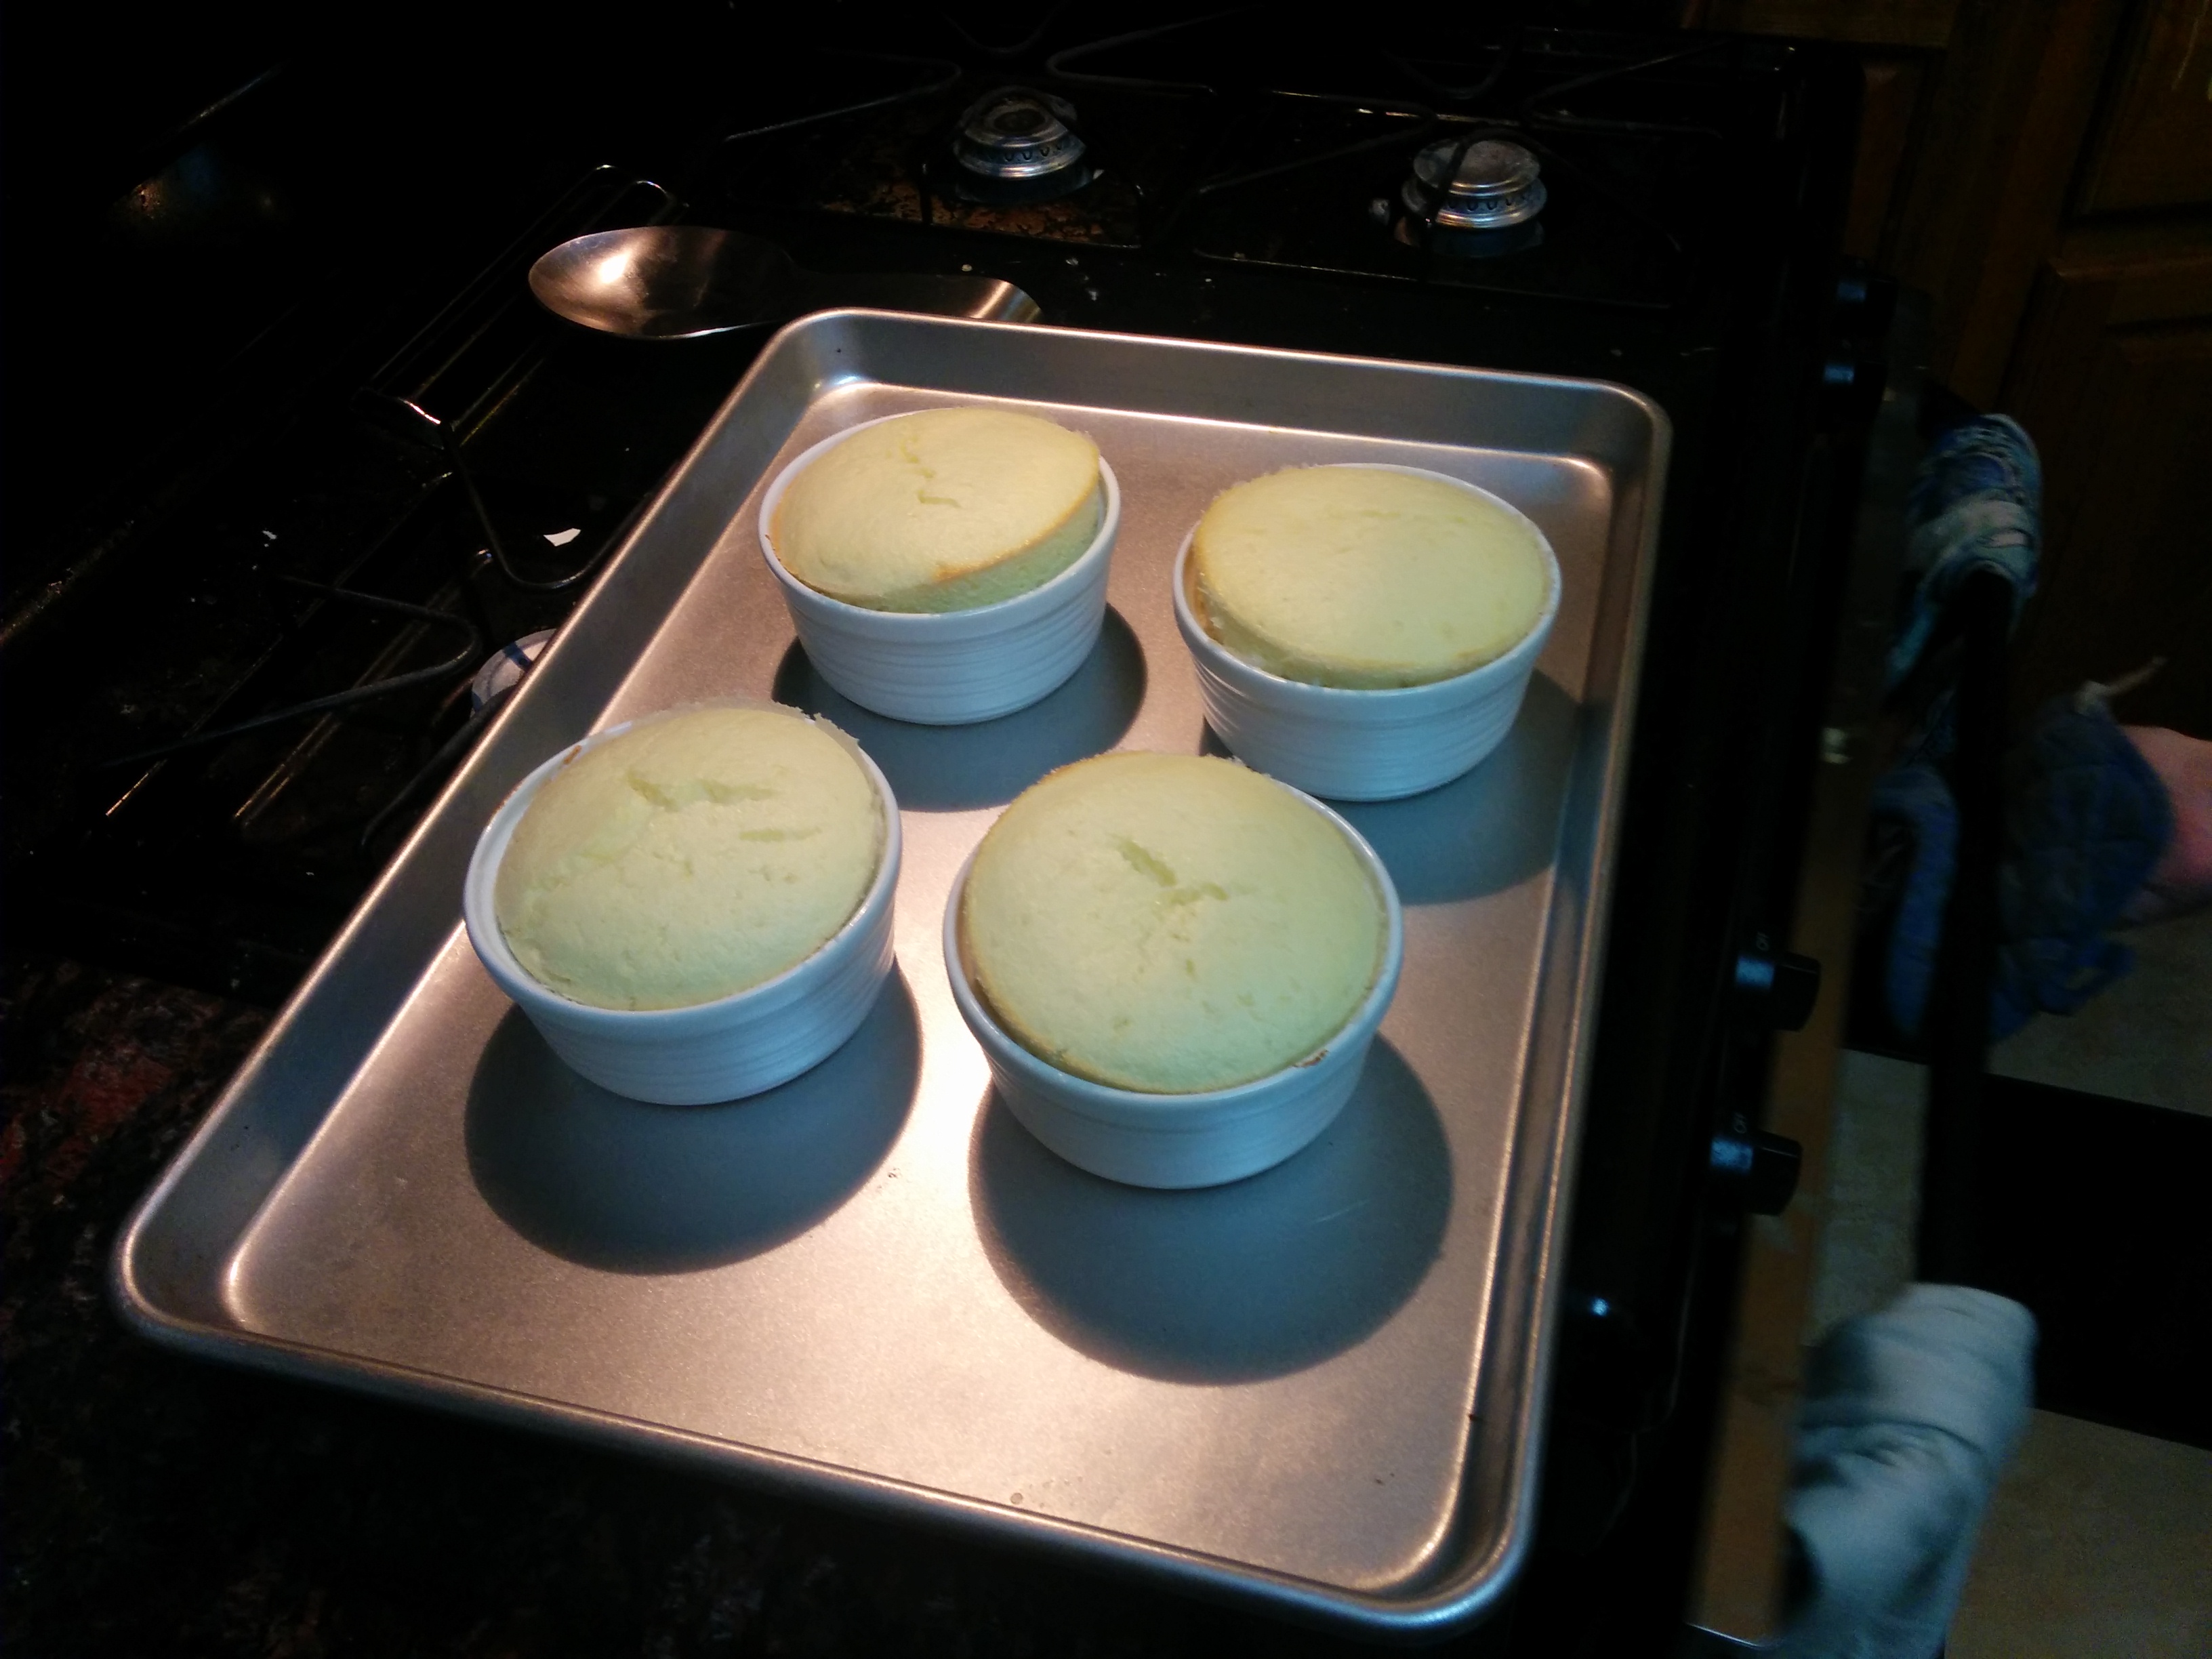
- Bake until the mixture is well spread out, looks lacey and is a dark golden colour. Once baked, you need to work fast to shape the brandy snaps, so its easier if you bake one tray at a time. Remove each tray from the oven and leave for a minute or so to firm up slightly, then lift from the baking parchment using a fish slice. The mixture needs to be just firm enough to remove, but pliable enough to shape. Check by releasing around and under the edges with a small palette knife.
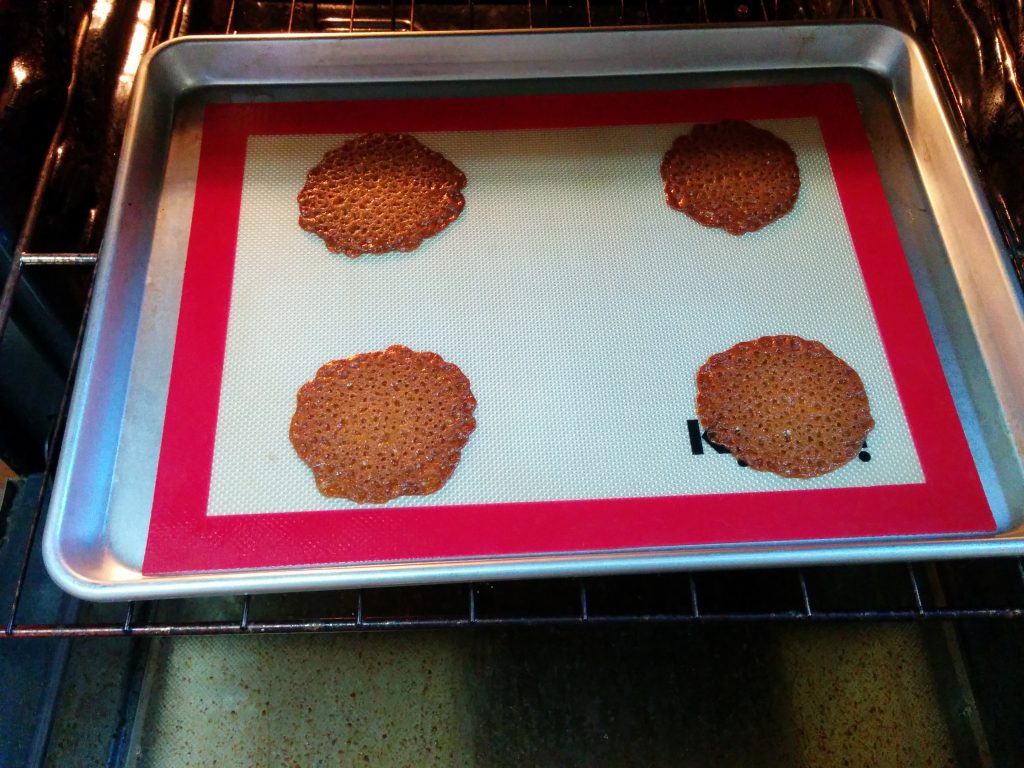
So dark you think they might burn, much darker than a cookie. Have faith, trust in Berry.
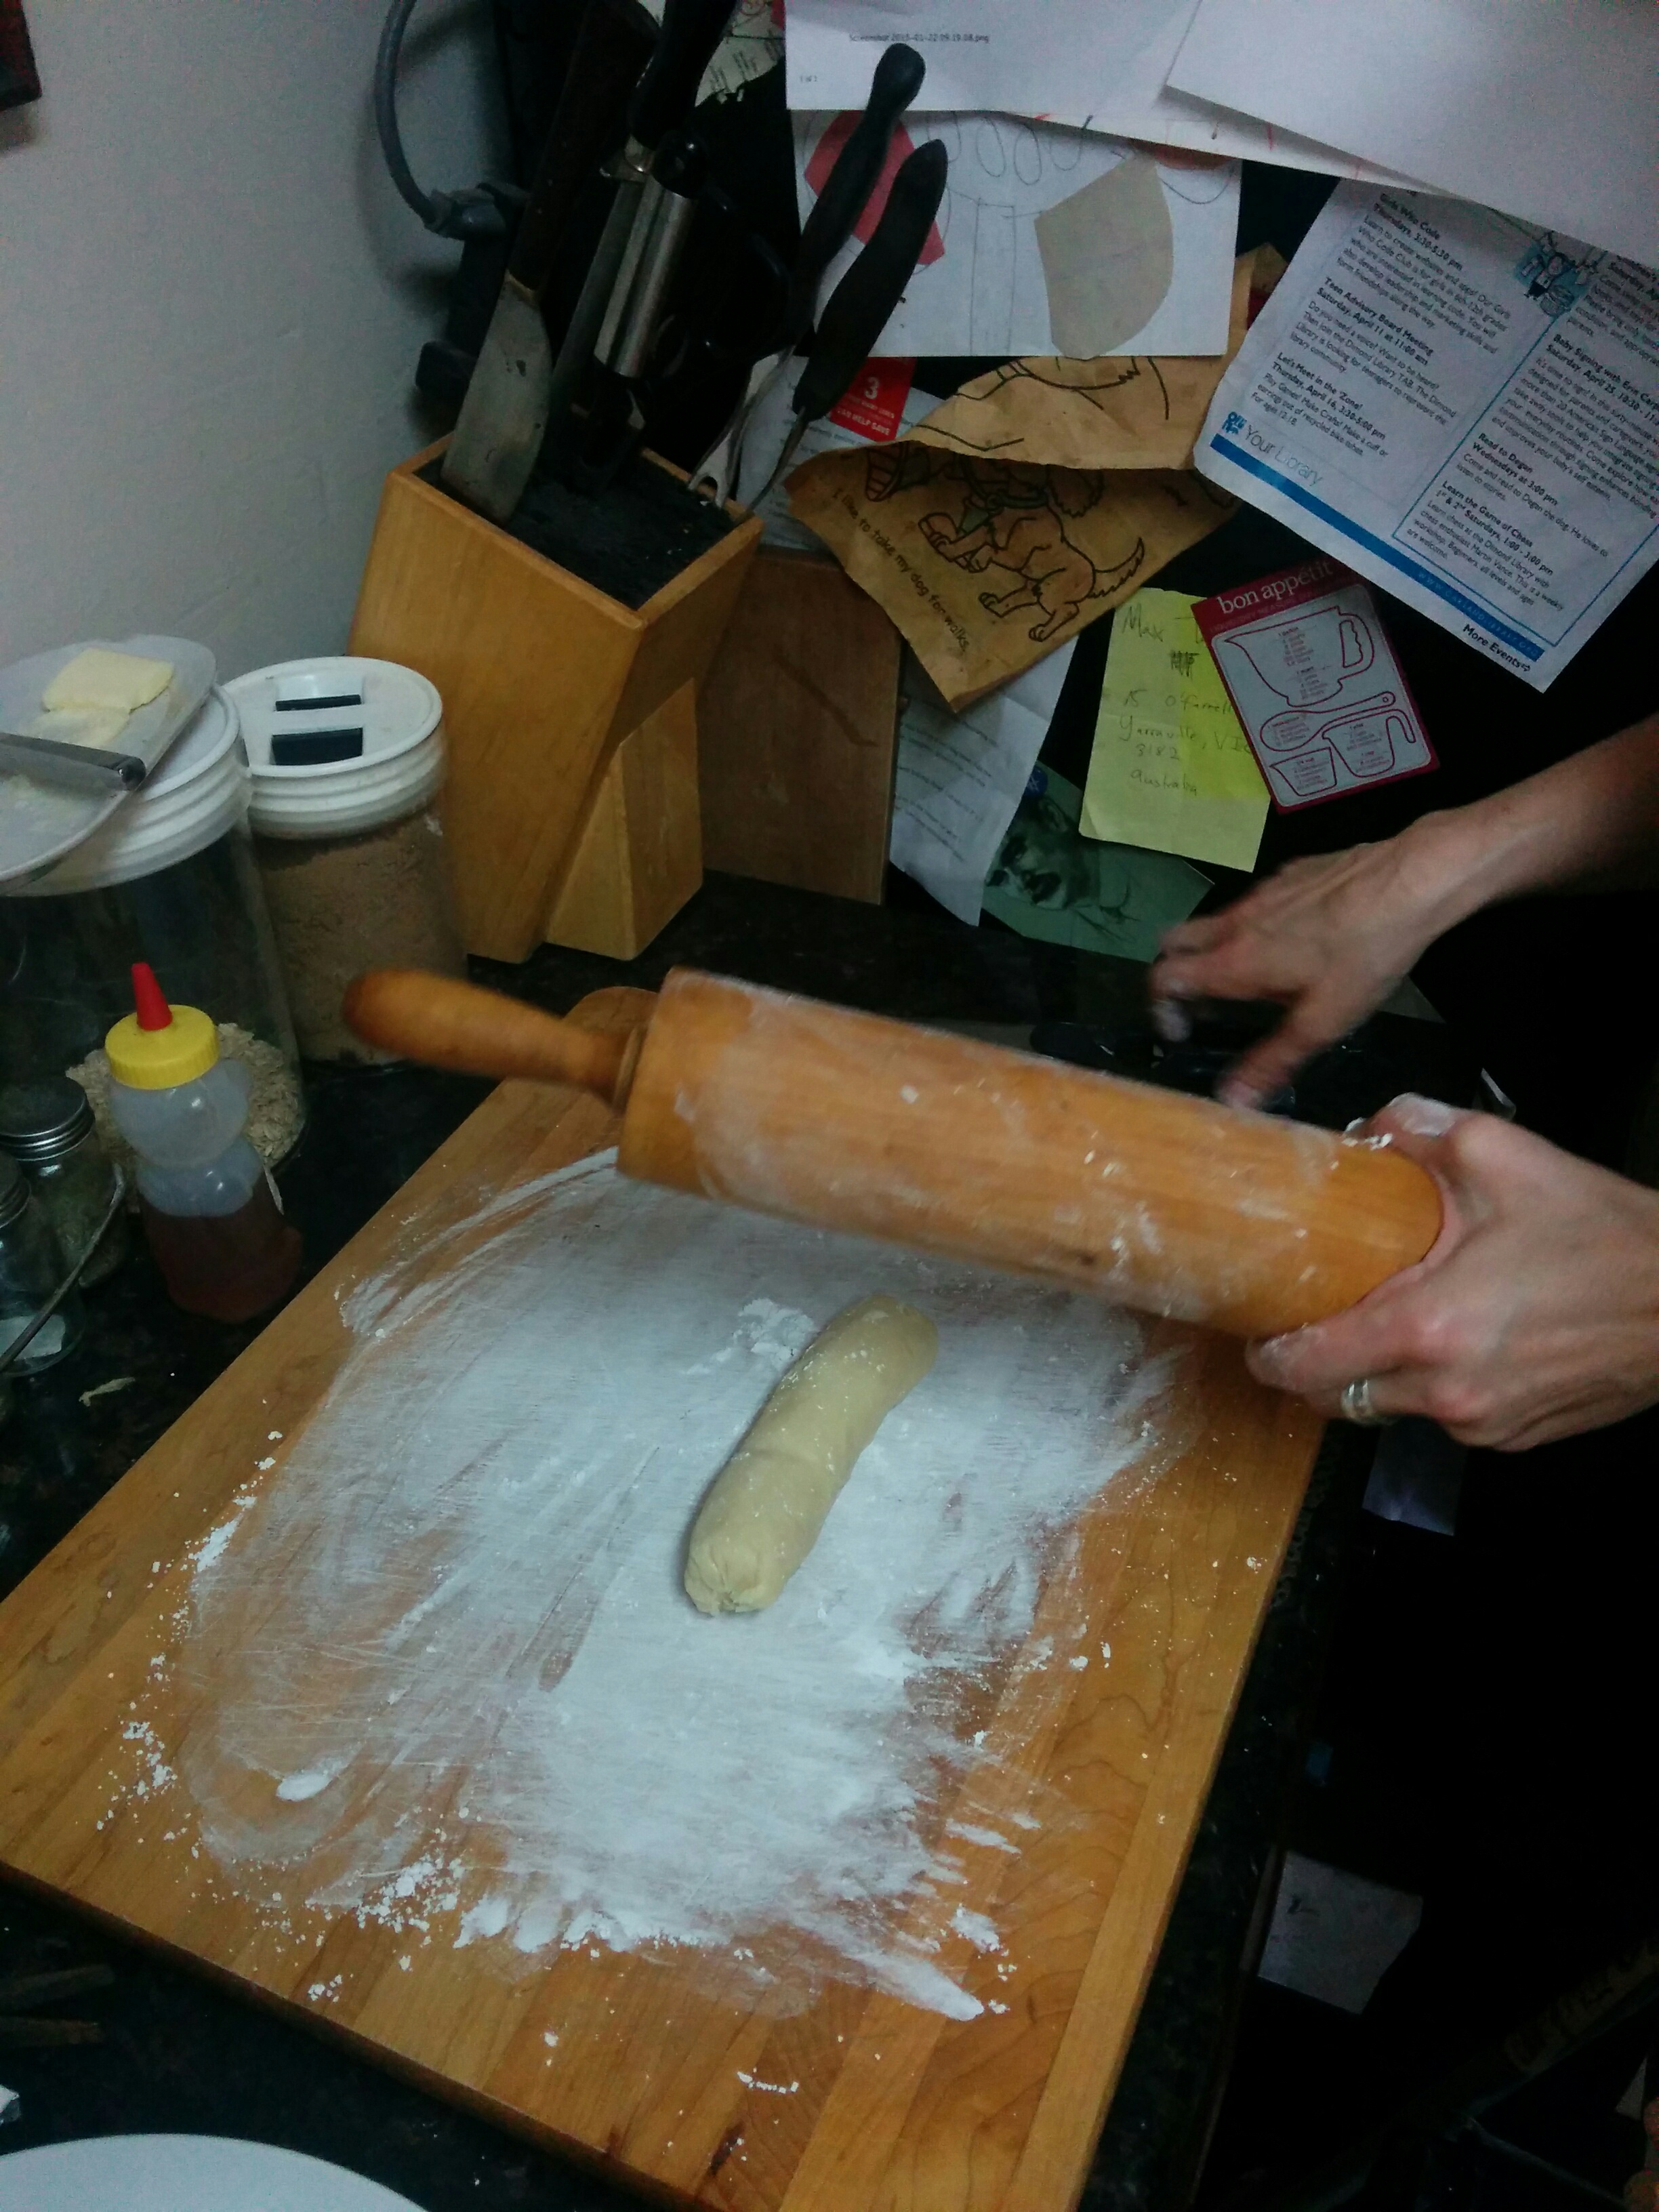
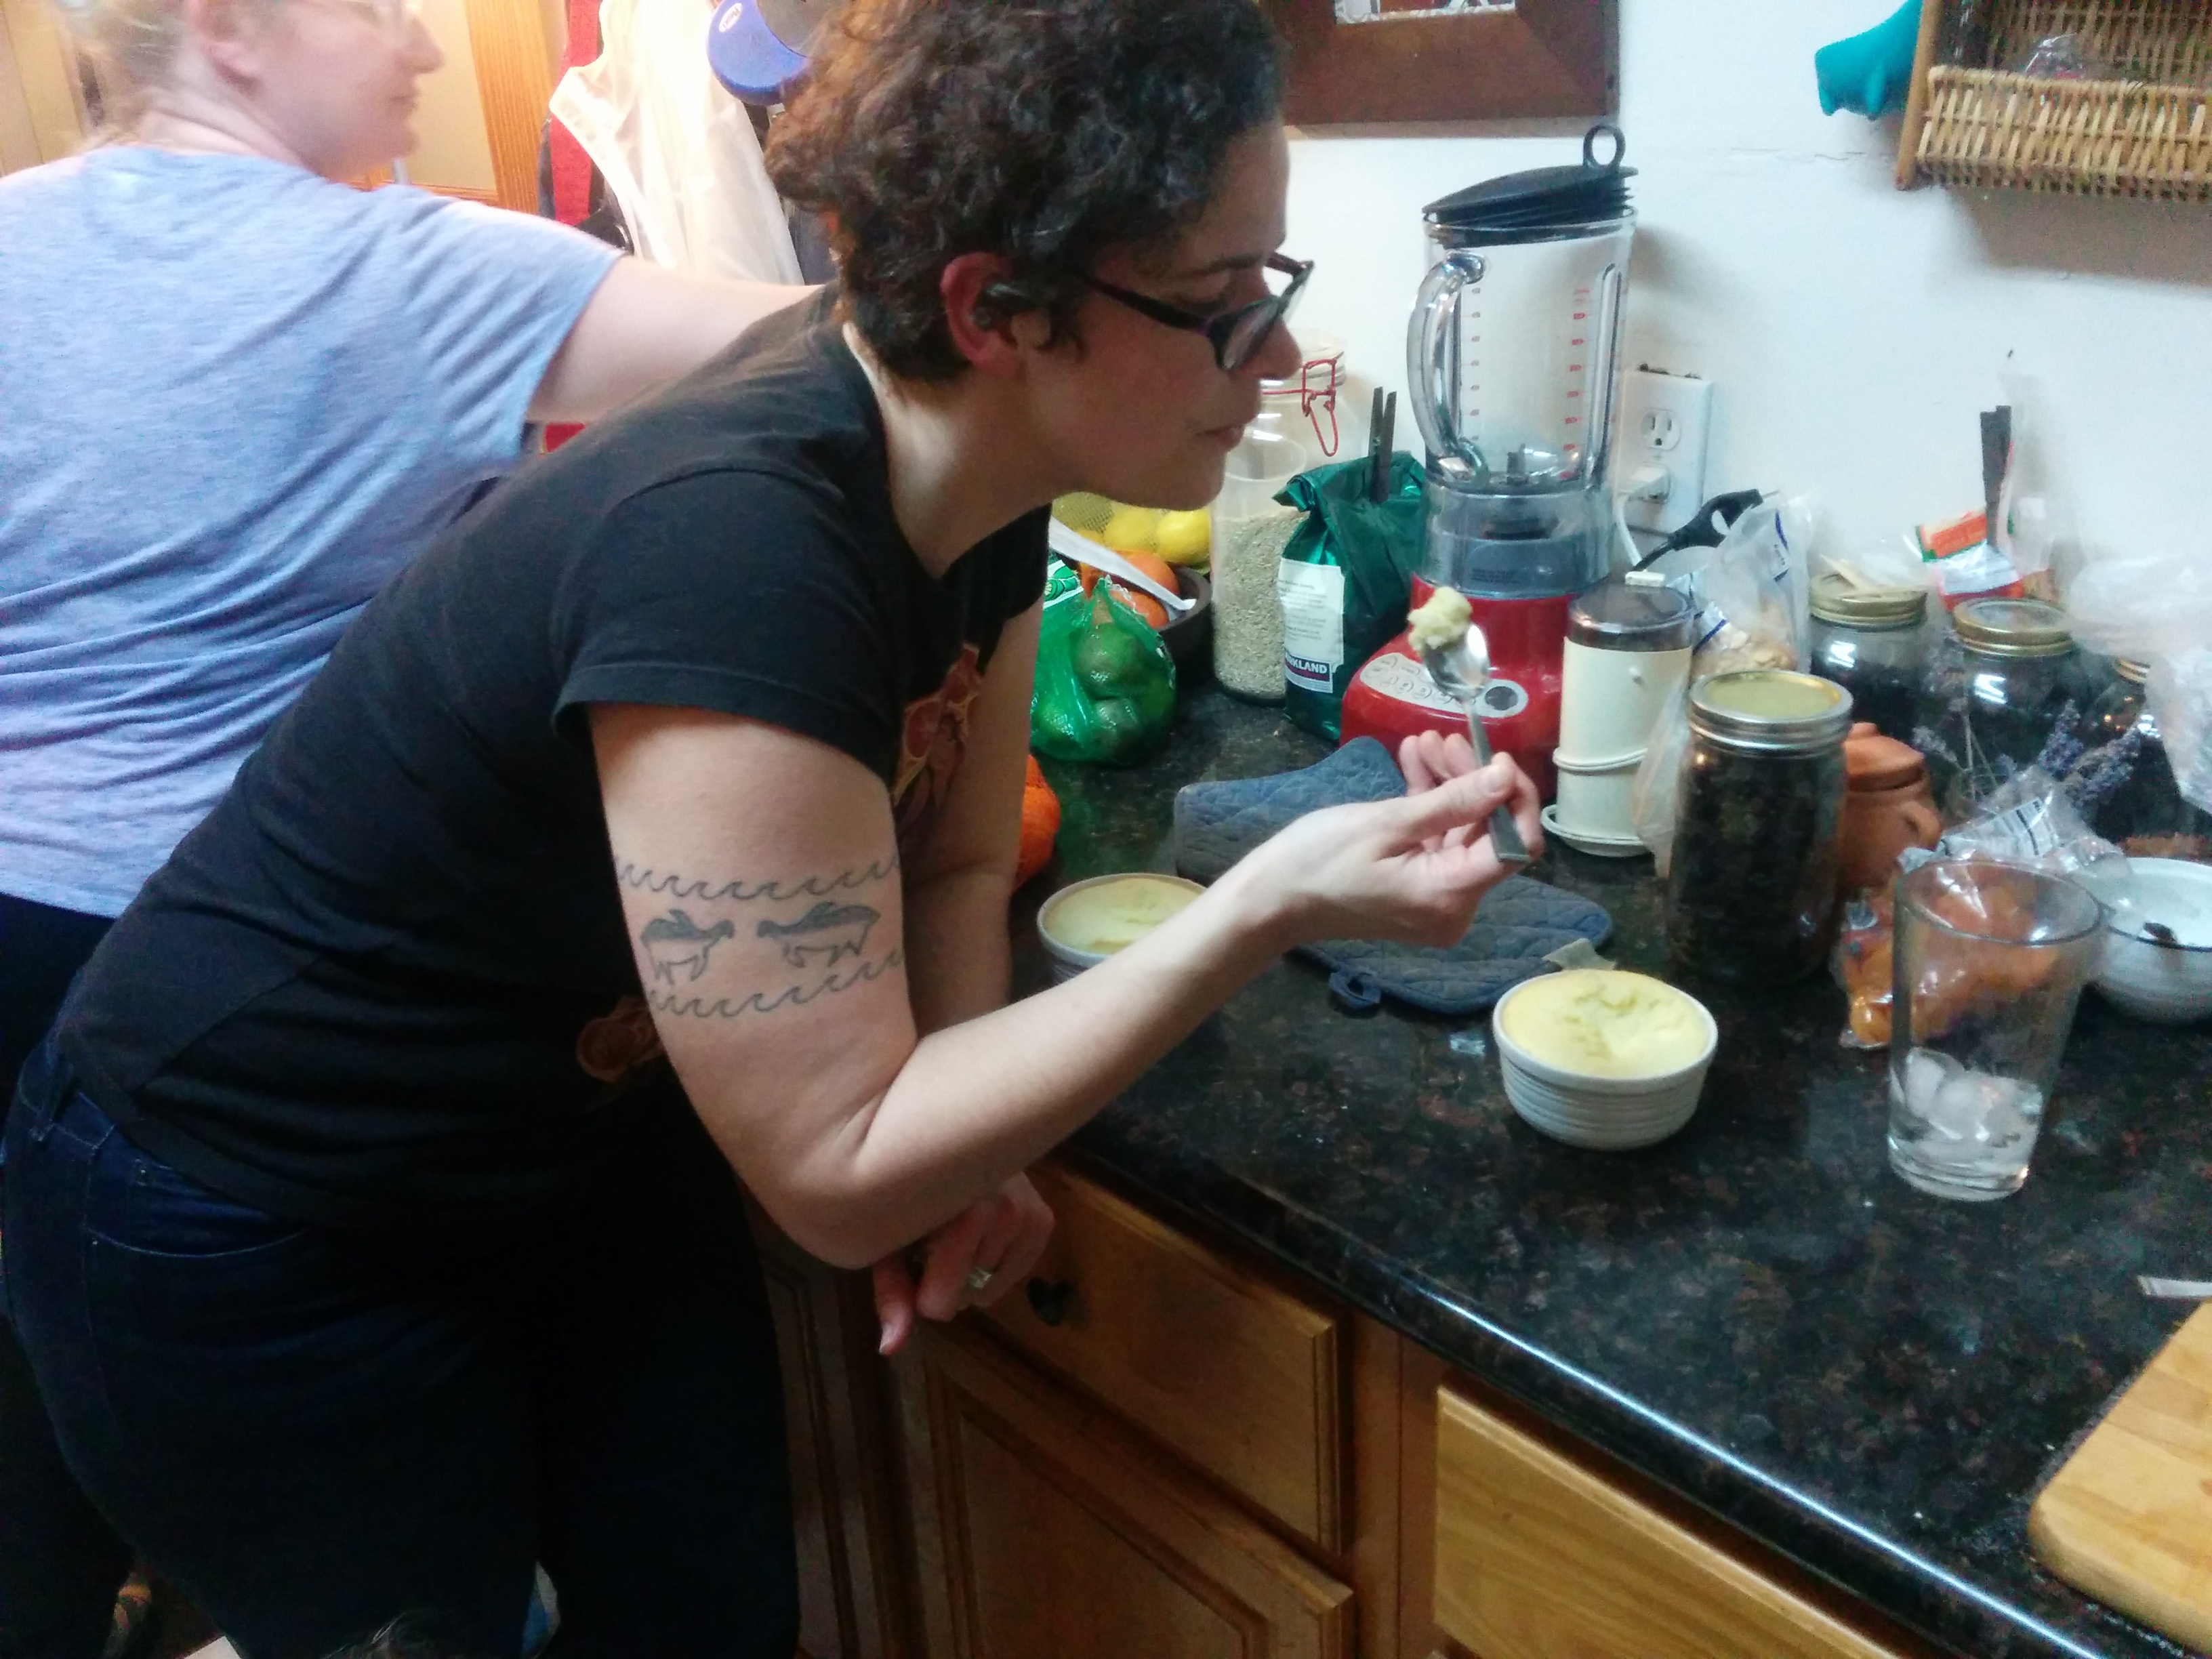
I had two pans going – one cooling and being rolled while the other baked. That worked out well. You’re going to be on your feet for a while with this one, wear comfortable shoes, have your drink ready (I always drink coffee when I bake [That’s a lie, sometimes I drink beer]).
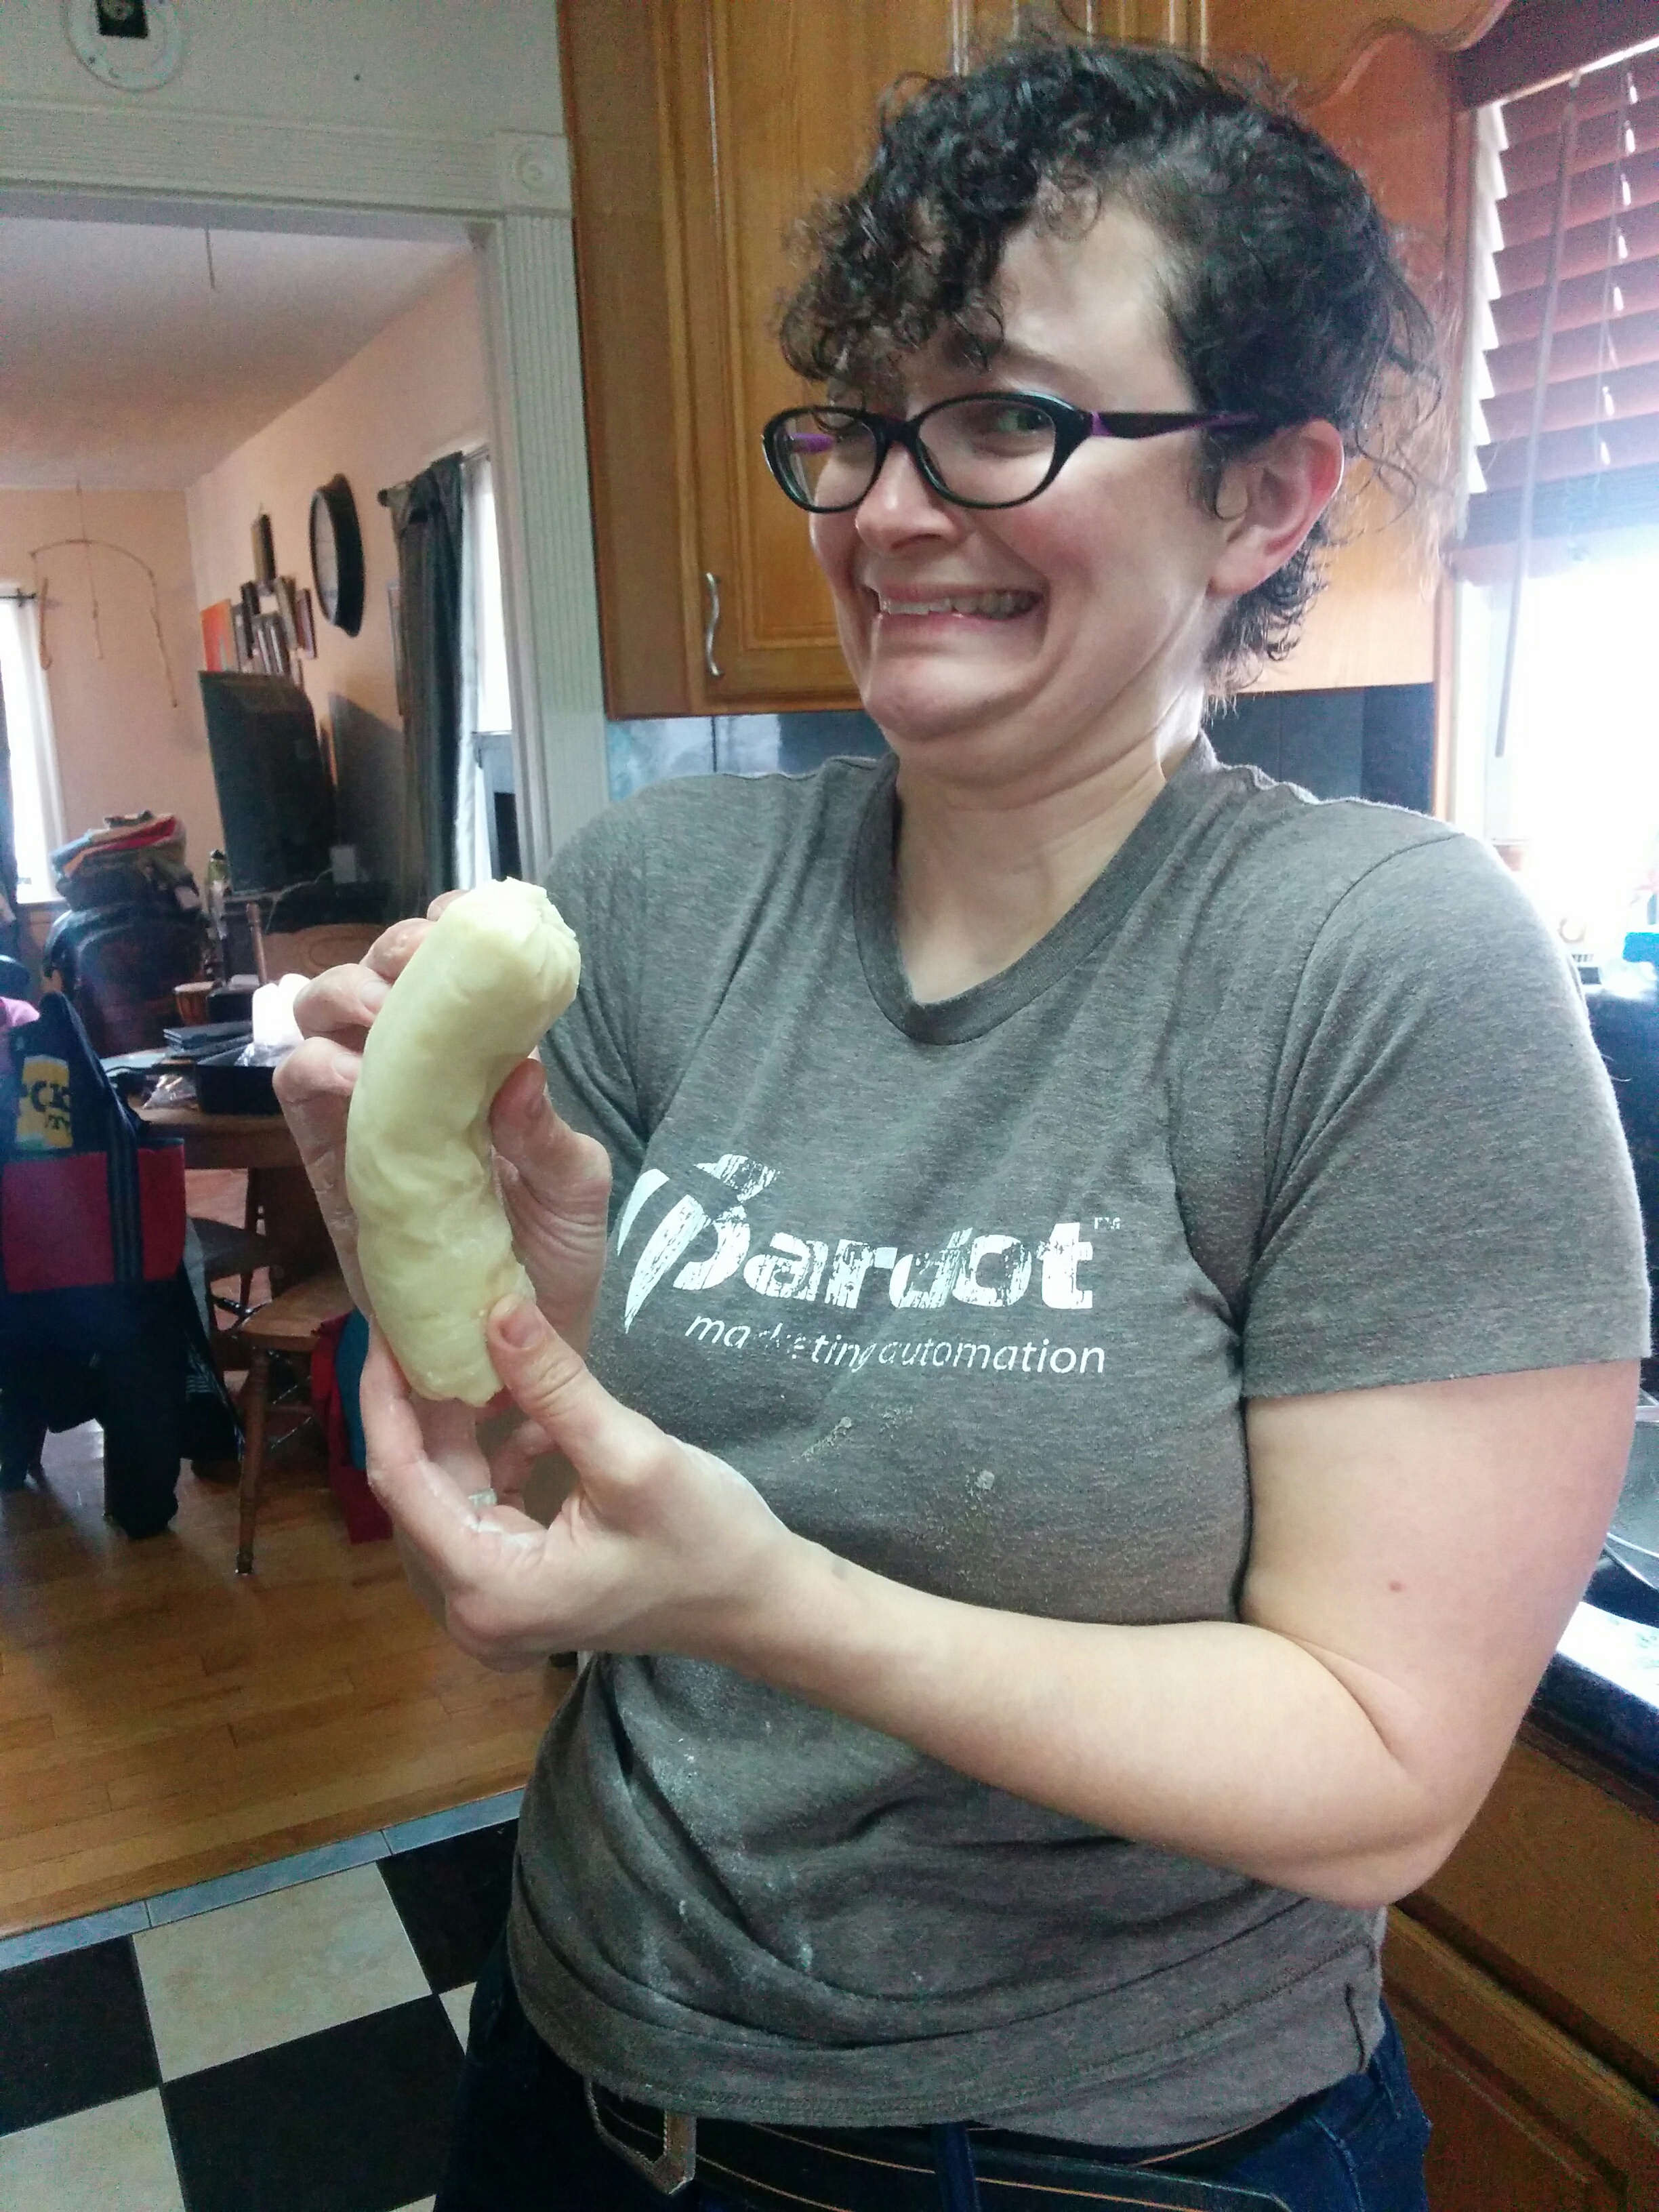
- Quickly roll a circle of the warm mixture around the handle of the wooden spoon, having the join underneath. Press the join lightly together to seal, then slide the brandy snap off the spoon and leave it to firm up on the wire rack.
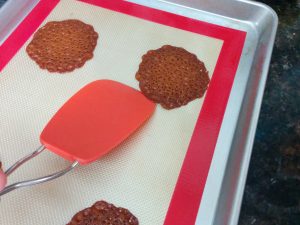
You need to hit these at just the right moment. Too soon and the edges will just crumple in front of the spatula, too late and they will crack.
Have fun with different molding shapes. Cigars are fun, you can wrap them around oranges for little bowls that you can fill with custard or something else delicious. There are many possibilities for these. Given how quick and easy they are, go nuts. Even if the shape doesn’t come out, they still taste good!
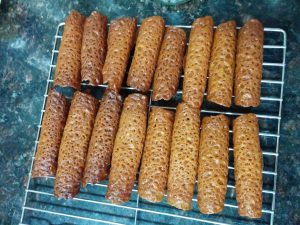
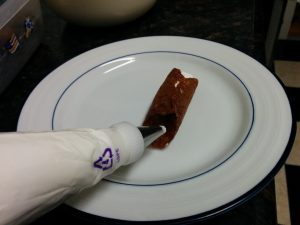
I waited until serving to add the whipped cream so the snaps wouldn’t soften.
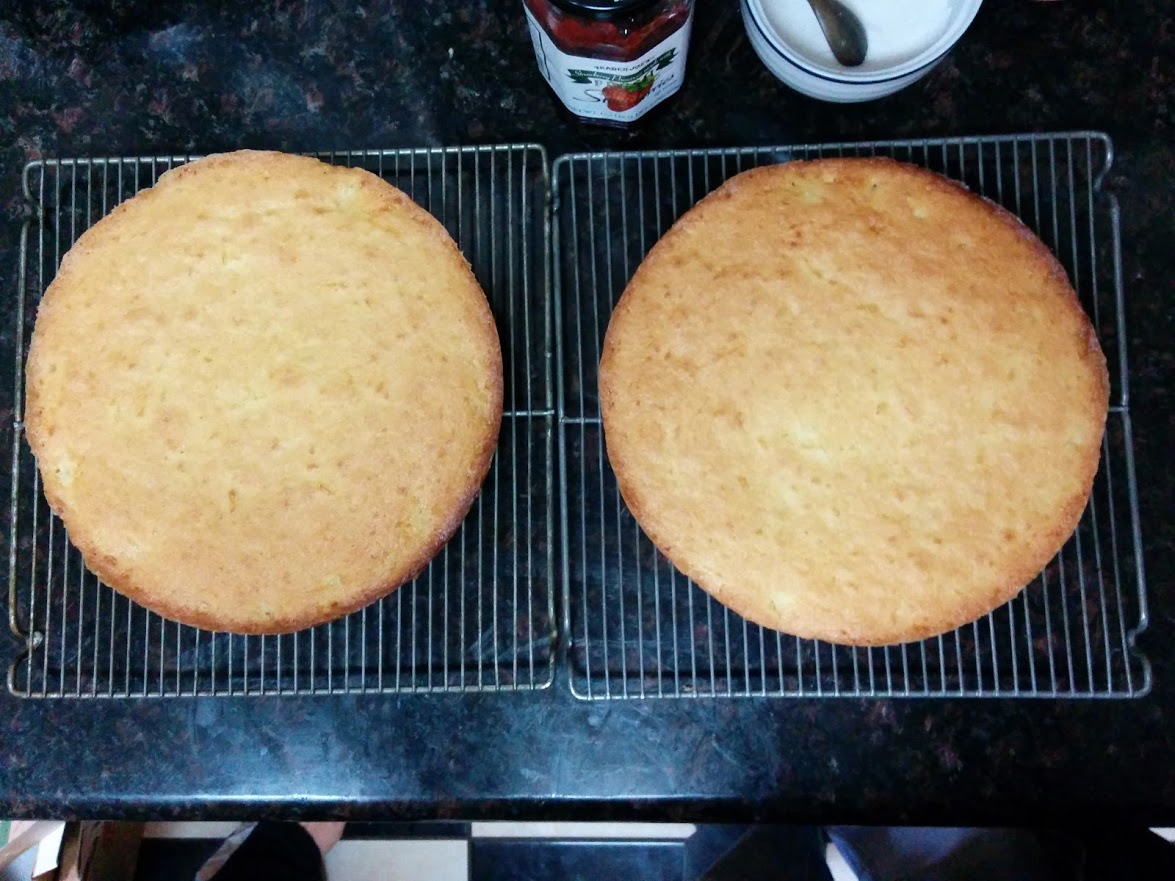
Verdict: Good! Very tasty in a caramel sort of way.
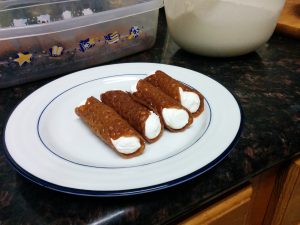
Simple and easy to make, lots of fun as well, especially if you get into doing various shapes. You could do some really fun desserts with little baskets or bowls filled with other delicious things. A would bake again.
Next time on Bake On!: Miniature Pork Pies
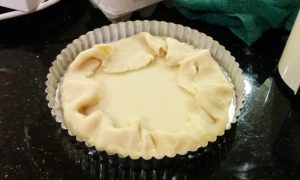
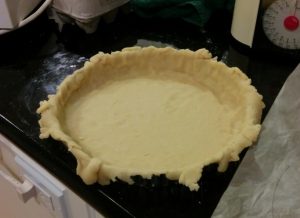
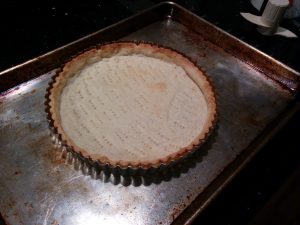
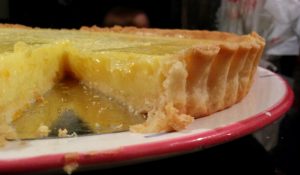
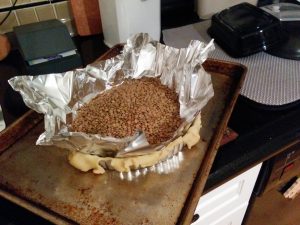 I didn’t blind bake long enough. I will give it a minute or two longer in the future. From this bake and others I have learned that I don’t get good results when I have a time pressure – like getting a tart done in time for the kid to go to bed. You can see below how pale the pastry was. Needed just a bit more color.