Bake On! 10 – Miniature Pork Pies with Quails’ Eggs – Season 2 Episode 5
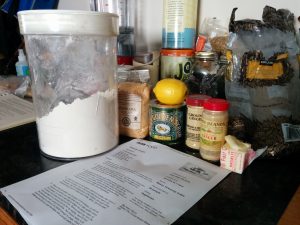
Ingredients
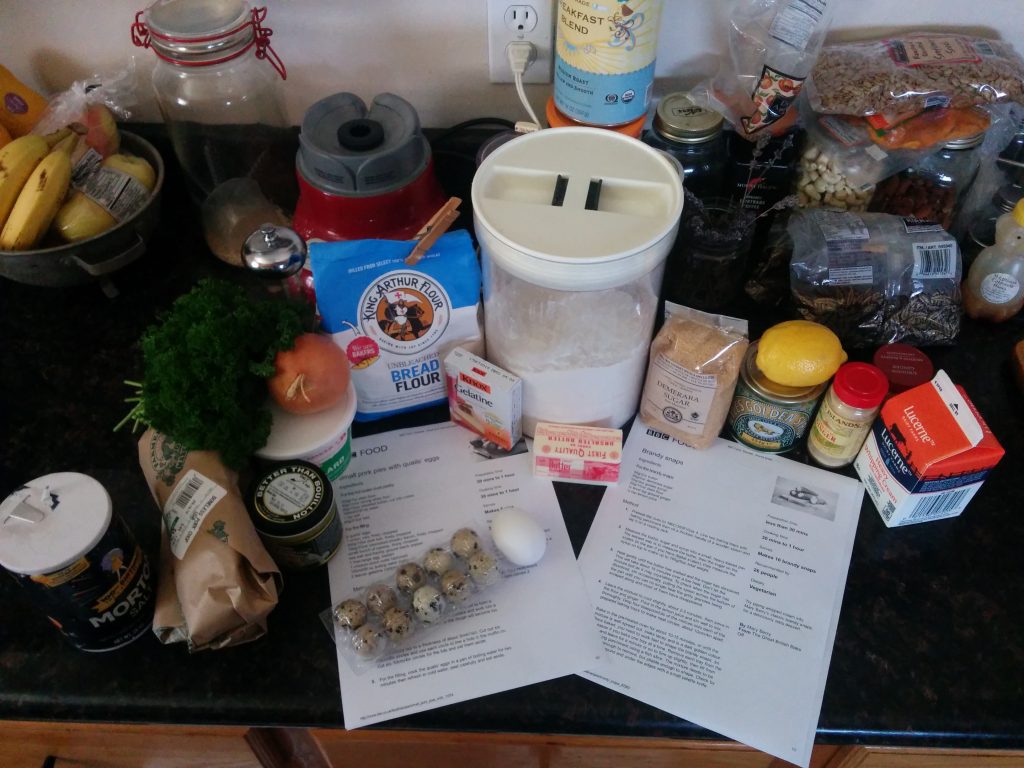
For the hot water crust pastry
- Plain flour
- Strong white flour
- Unsalted butter, cut into cubes
- Water
- Salt
- Lard
For the filling
- Quails’ eggs
- onion, very finely chopped
- Pork loin, finely chopped
- Unsmoked streaky bacon, finely chopped
- Parsley, finely chopped
- Sea salt and freshly ground black pepper
- Egg, beaten
- Chicken stock (optional)
- Boiling water (optional)
- Gelatine (optional)
Method
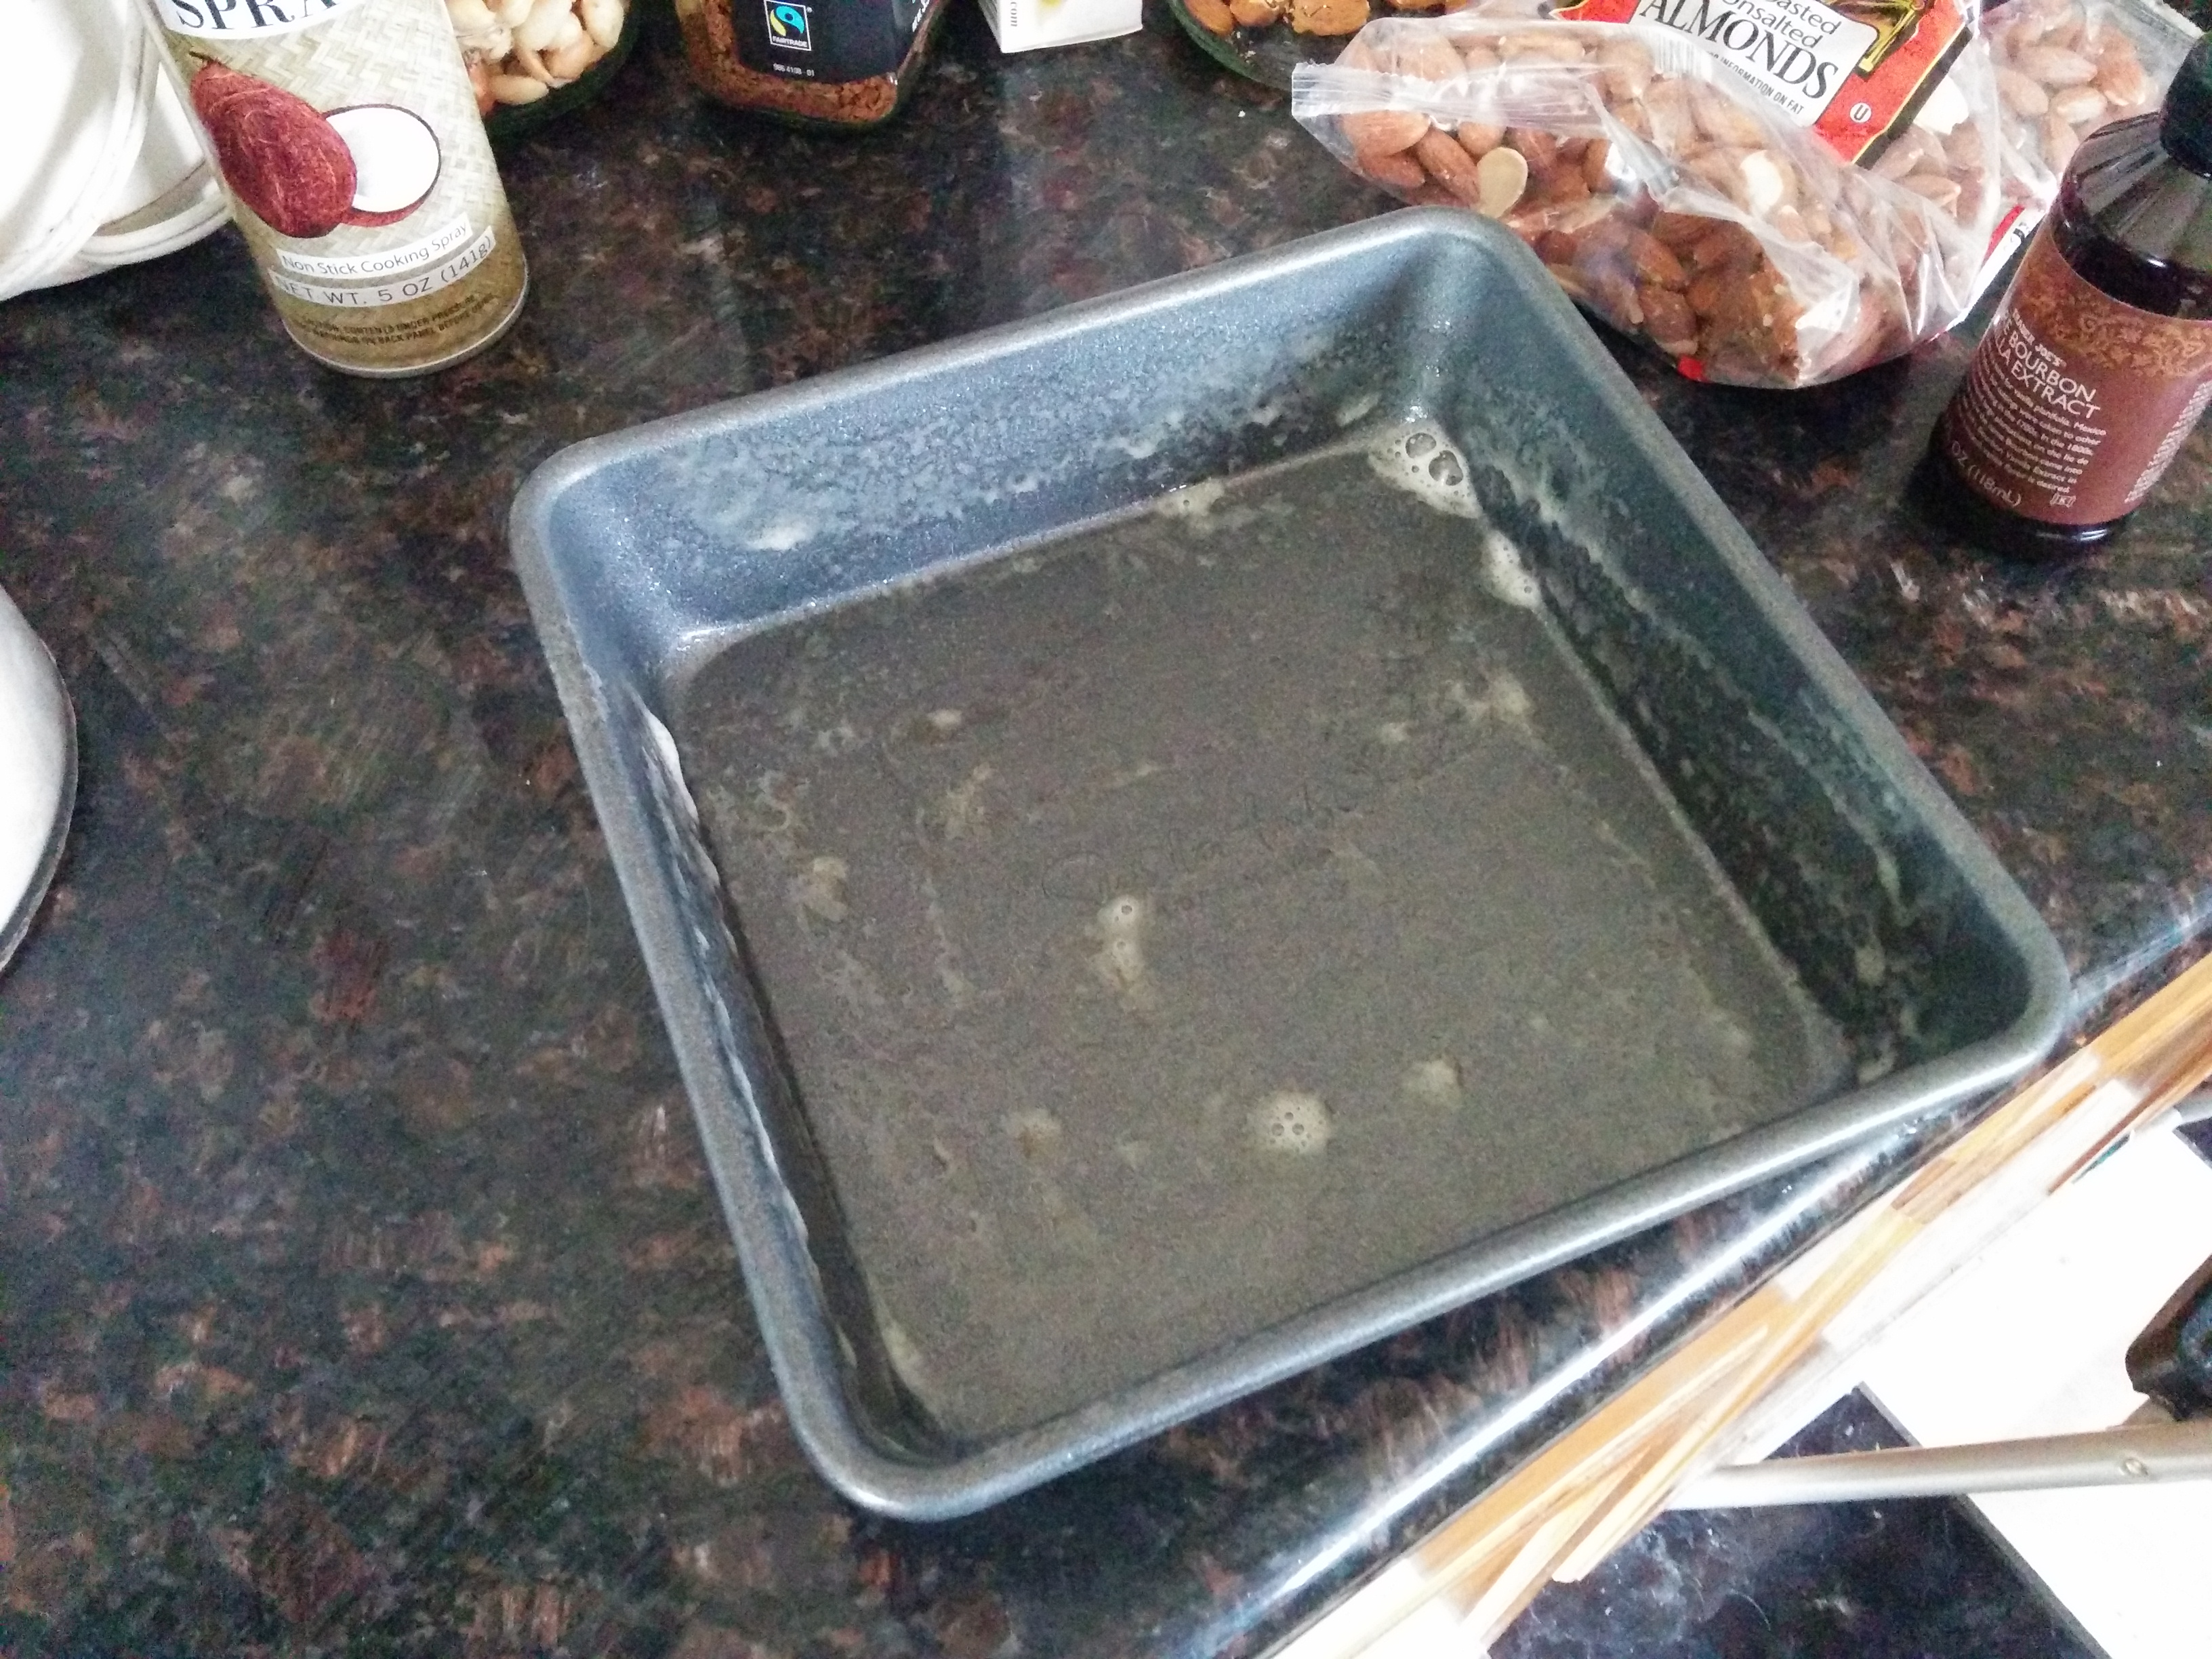
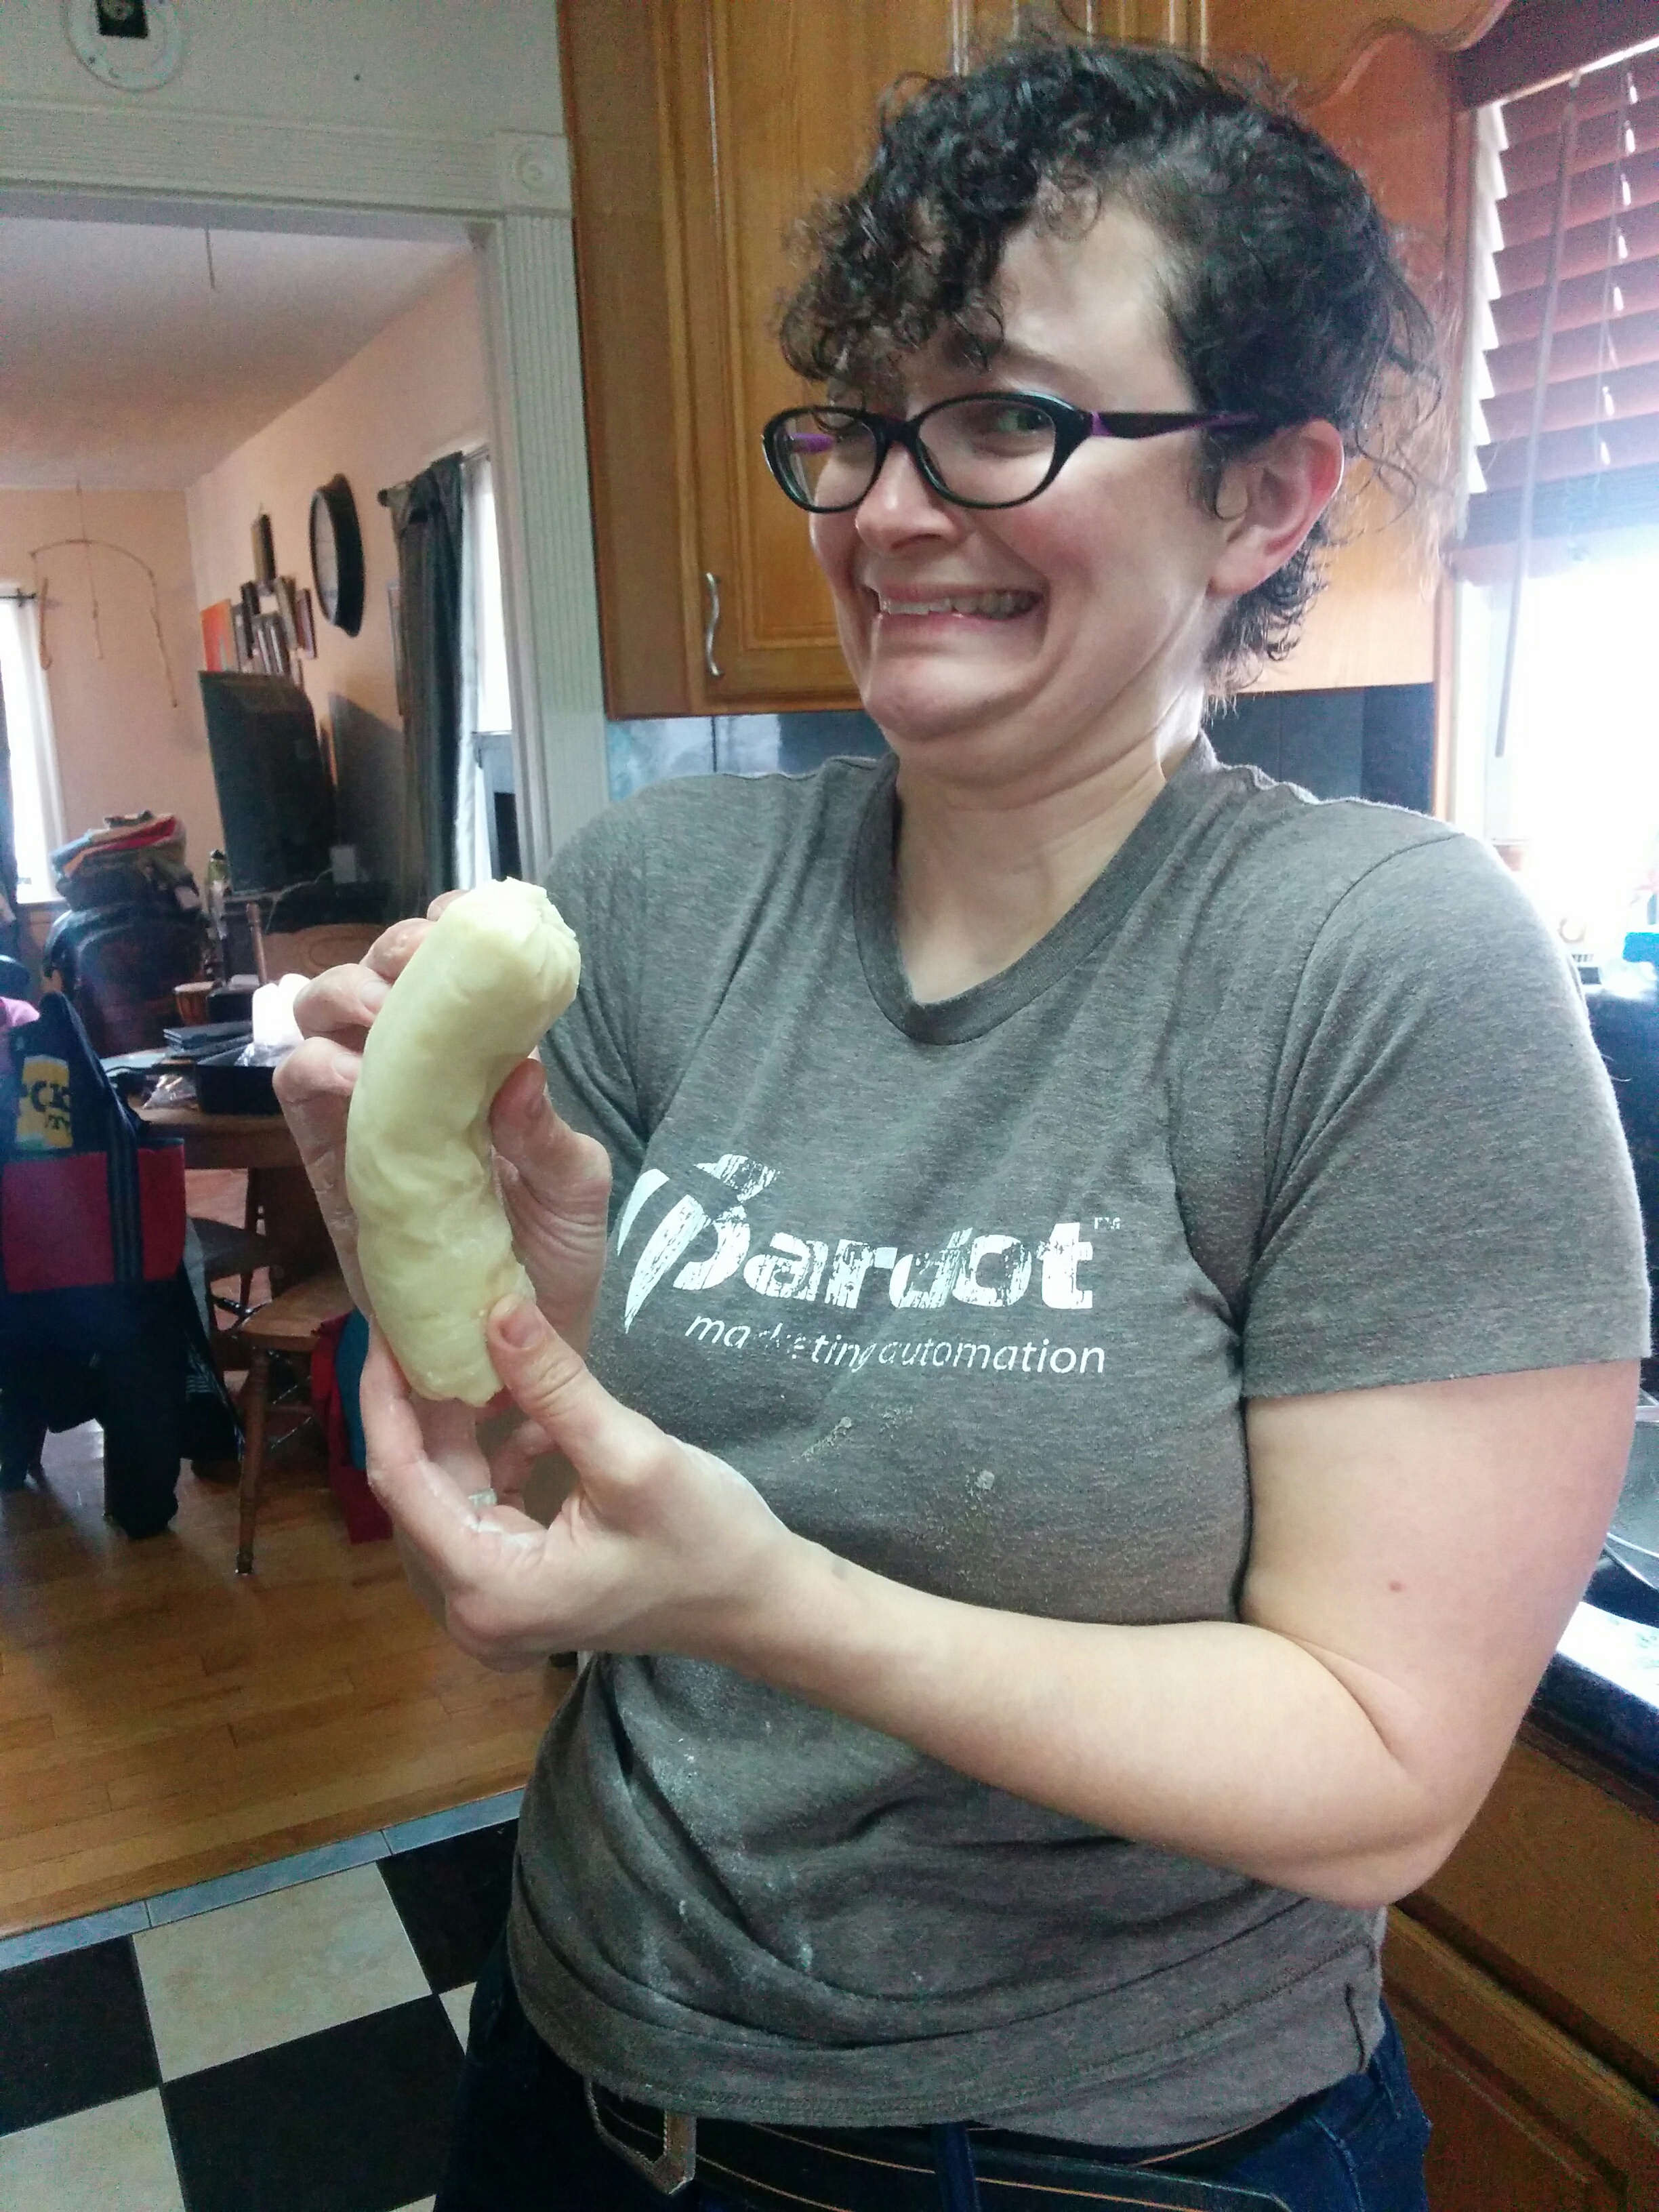
Step 0 is find lard. Don’t waste your time at Safeway, head to a Mexican market, they have it by the bucket.
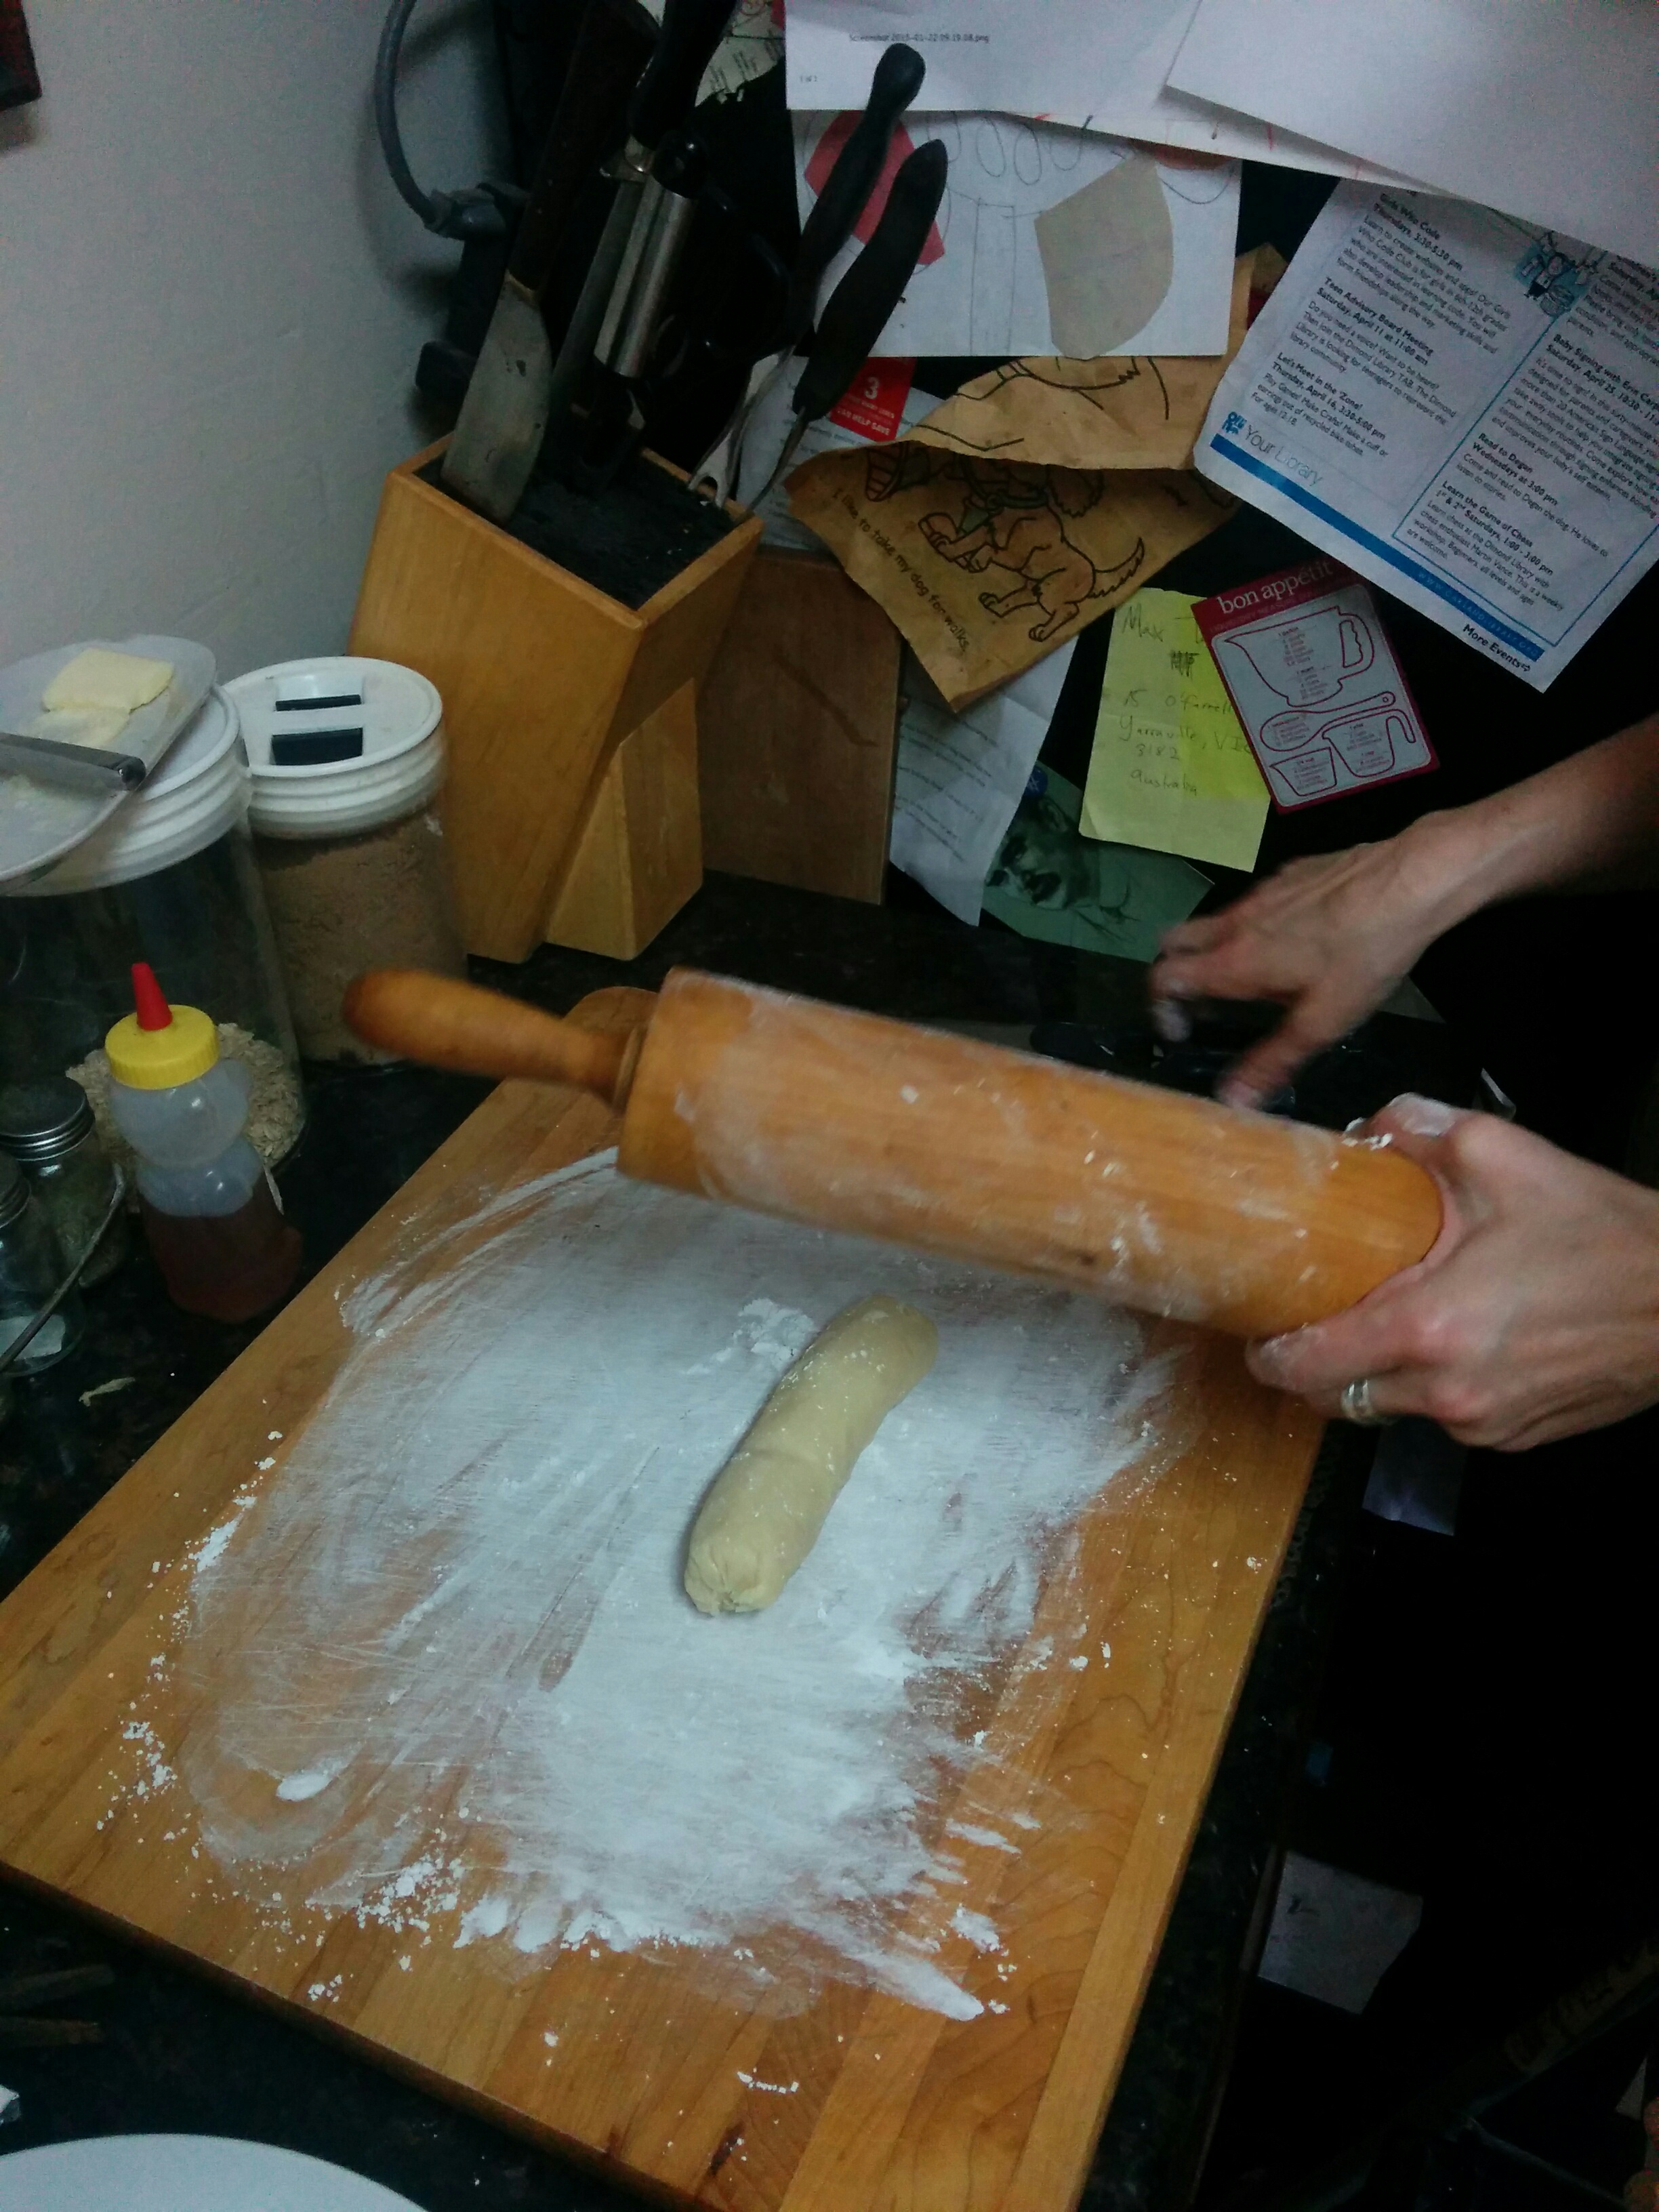
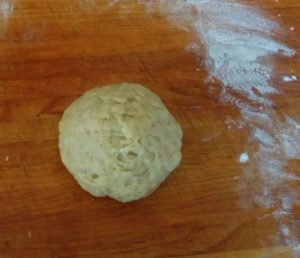
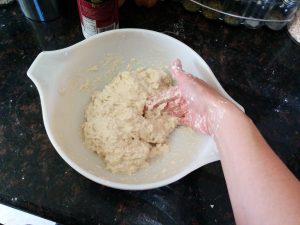
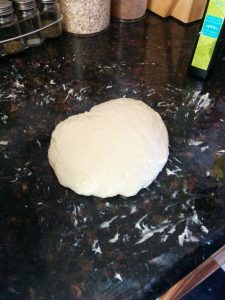
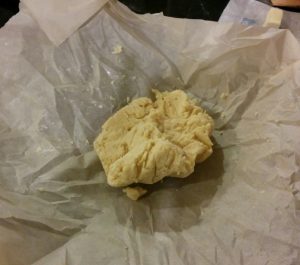
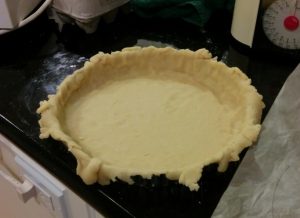
This was my first time making hot water crust pastry. I was very wary of burning my hands with boiling water and lard. It was odd because normally when making pastry you’re moving quickly so the dough doesn’t get too warm and you don’t want to over work the dough.
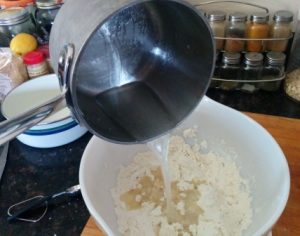
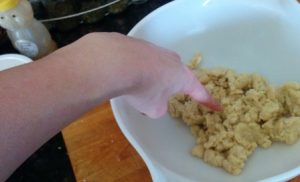
For hot water crust, you move quickly so the dough doesn’t get too cold and you almost can’t over work it.
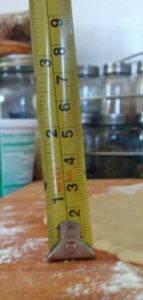
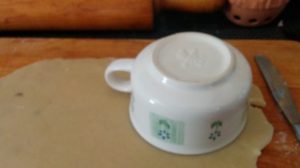
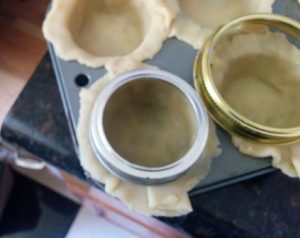
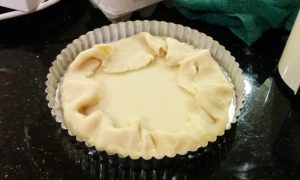
You have to roll out the pastry fairly thin and then cut out circles of the correct size for the top and bottom. I always find something in the kitchen to act as a guide.
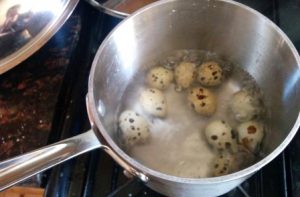
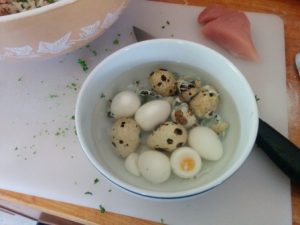
For the filling, cook the quails’ eggs in a pan of boiling water for two minutes then refresh in cold water, peel carefully and set aside.
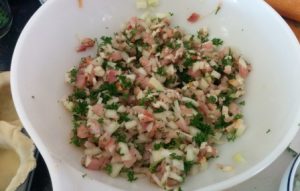
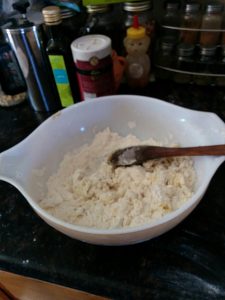
Put the onion, pork, bacon and parsley into a bowl, season with salt and freshly ground black pepper and mix until well combined.
Spoon a little of the mixture into each lined pie case, place a quail’s egg in the centre and spoon over a little more filling.

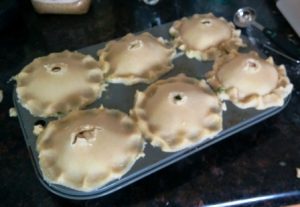
Brush the edge of each pie case with a little beaten egg, place the lids on top and crimp the edges together to seal completely. Make a small hole in centre of each pie and bake in the oven for 40 minutes.
When the pies are cooked, set them aside to cool for 10 minutes. If making the jelly, dissolve the stock cube in the boiling water. Soak the gelatine in a little cold water until soft then squeeze out excess water and whisk into the warm chicken stock.
(N.B. I did not do jelly because I was planning to eat them for dinner)
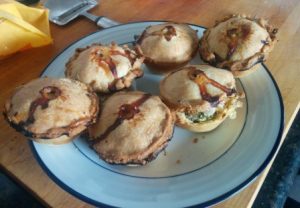
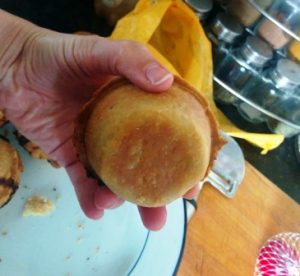
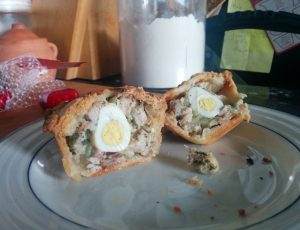
Verdict: B+ It was fiddly and the first time with hot water crust was odd. I did enjoy the crust and would use the pastry again. The quail eggs were annoying (sorry state bird!). They were difficult to peel and they had an odd taste, sort of sour.
I would bake this again, if only because my family really liked them, but I would probably omit the eggs unless I was really trying to impress someone.
Next Time: Chocolate Roulade
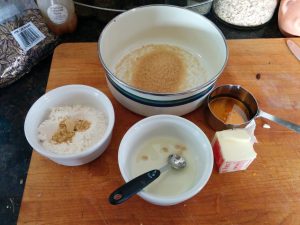
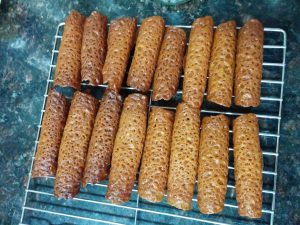
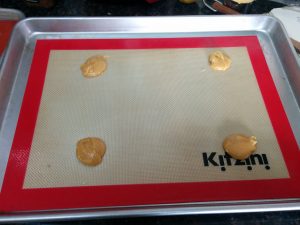 Leave the mixture to cool slightly, then sieve in the flour and ginger. Pour in the lemon juice and mix thoroughly. Drop the mixture onto each of the prepared baking trays to make neat circles.
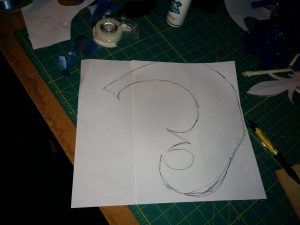

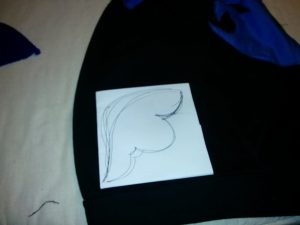
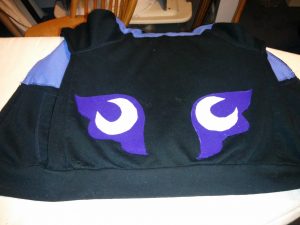
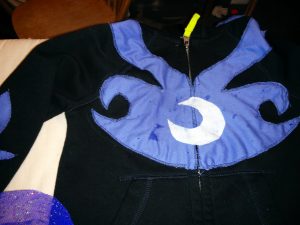


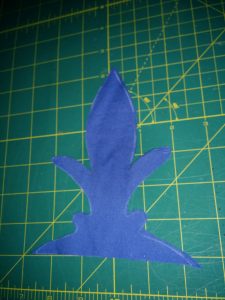


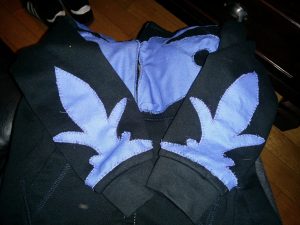

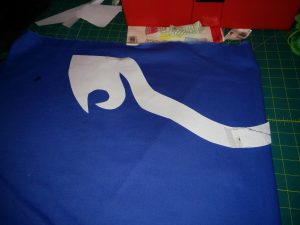
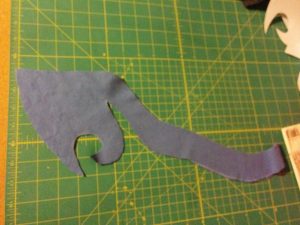
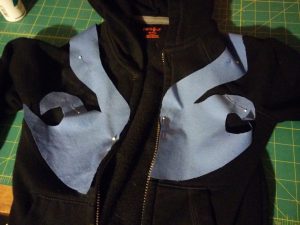

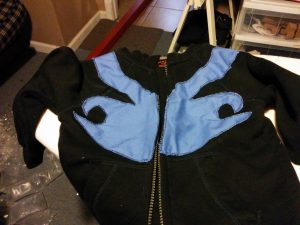
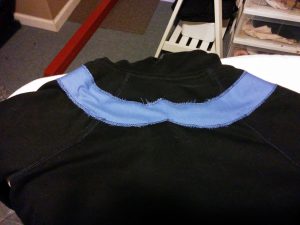


 Then I transferred the breastplate onto paper, added another sheet and traced out the back of the breastplate. I’m going to have one piece wrap around and I’m feeling very clever about it.


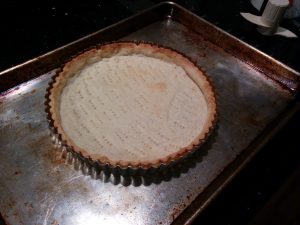
 I didn’t blind bake long enough. I will give it a minute or two longer in the future. From this bake and others I have learned that I don’t get good results when I have a time pressure – like getting a tart done in time for the kid to go to bed. You can see below how pale the pastry was. Needed just a bit more color.