Last time I held forth with no real qualifications or justification on how to fight as a jump marine in Warhammer 40,000: Space Marine. Carrying on with the second of three posts on the topic, I’d like to discuss particular maps in the game and how to best use the jump marine’s particular traits in each of them.

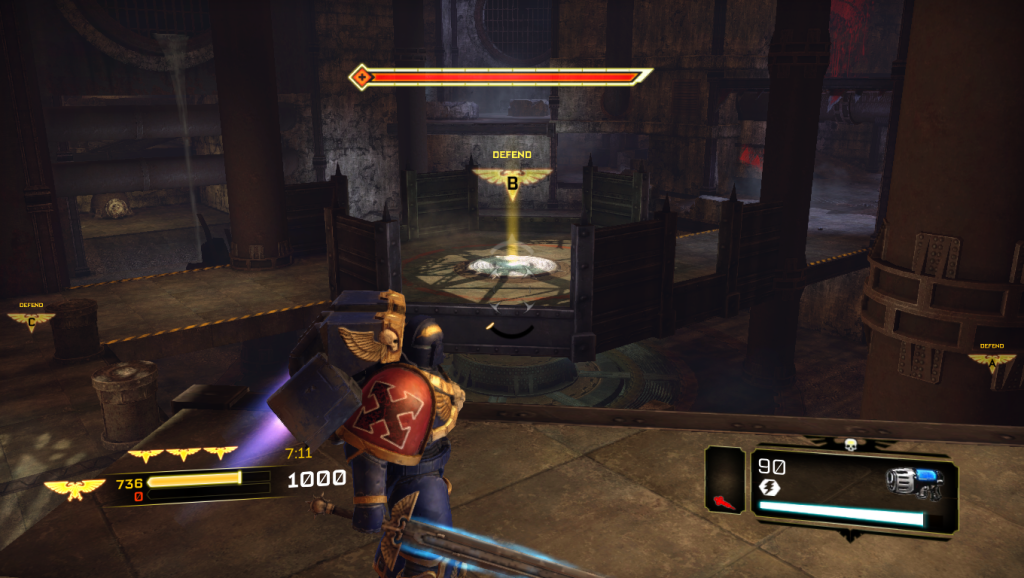
Waste Management
• As a jump troop you absolutely own the elevated middle point (B) of this map, since you can get to it from almost anywhere while everyone else just has two ways in and out. Do your best to keep it captured or in contention, but also keep an eye on the edges of the central arena since Devastators love to set up and camp on the various ledges.
• Moving from the point closest to your base, it’s often worthwhile to run up the ramp to the left. Enemies will try to sneak into your base from this ramp, and you can plow into them before they’re ready if you meet them halfway. This is also a good way to get to those ledges I mentioned earlier, so you can catch Devastators from behind.
• Another cunning route into the enemy base is the floor under (B), although you can’t really jump while you’re down there.
• Don’t forget to hop across the catwalks on the north and south sides of (B) to get to (B) from your spawn and also to get over enemies and drop down behind them after they run into the middle.

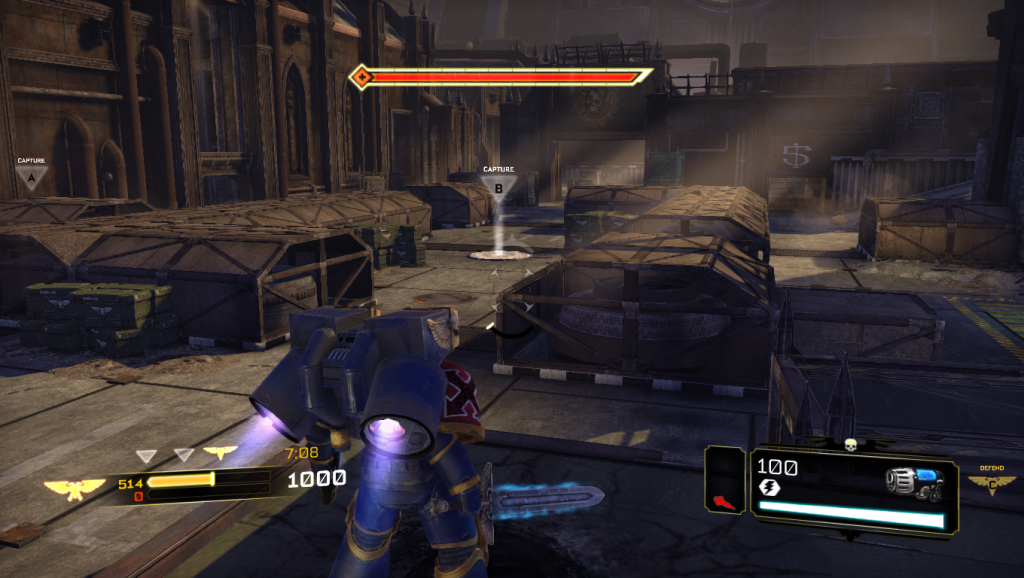
Manufactorum
• All the points in this map are walled in on two or three sides, so if someone is capping a flag, toss a few grenades into the box with them.
• The middle arena, with its low container walls, is a playground for ASM. Watch out for Devs and Stalker Tacs sniping from the big gateways into the spawn points.
• If you head out of your base’s flag room using the ramp at the opposite end from your spawn, you can attack the other team from behind in the middle arena, or hurry through the gateway into the area outside their spawn, where you can tackle a few devs and lighten the load on the middle.
• Don’t forget that when coming out of the main gateway you can actually jump over the low wall to the right instead. This will land you out of sight of the enemy’s archway and primed to leap onto (B) without getting shot on the way in. Alternately, you can run along the outside of the containers and flank the other team.

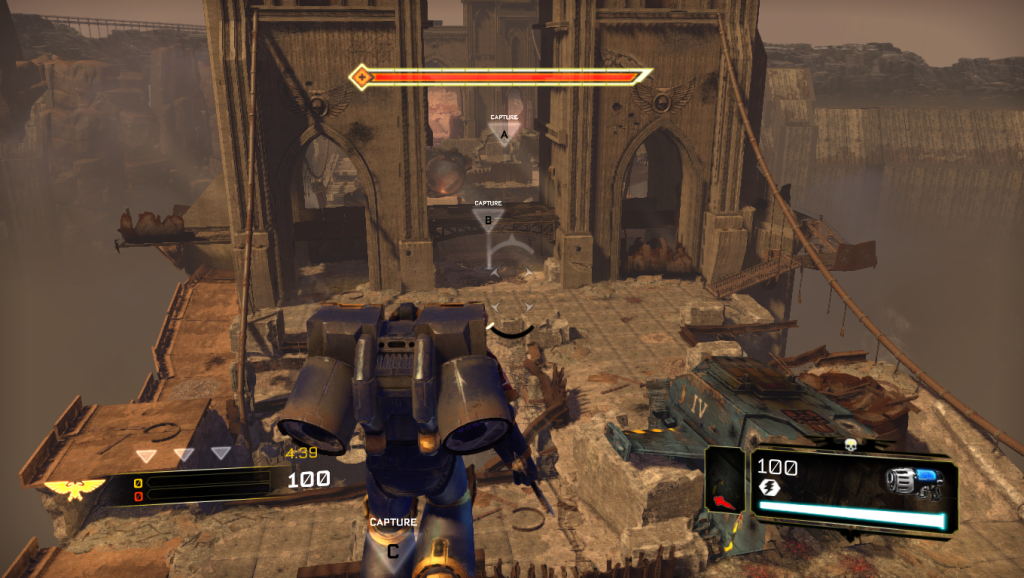
Shattered Bridge
• Point (B) on this map can become a meatgrinder, especially if a few Devastators can get set up in the arches on either side of it. It’s often worthwhile to either come at it from one of the side approaches or bypass it entirely and try to disrupt the other side’s backfield. Try leaping through the windows of the bridge towers, run up the ramps on the outside edges of the bridge towers and jump off the other side, or drop down to the lowest level of the map and scoot under the fight to pop up from behind.
• You can very easily fall off of the bridge and die. Don’t. It’s embarrassing.
• This map is very popular among Dev and Stalker Tac players trying to rack up sniping kills by hanging out on either side of their home base flag. You can often single one out on the ledge just to the left (by an attacker’s perspective) of the pipe leading from the base to the middle area. You know, that one.
Coming up, this series ends not with a bang but a whimper as I complain about the maps I don’t like and try to discuss a feature I don’t fully understand.
-ssr